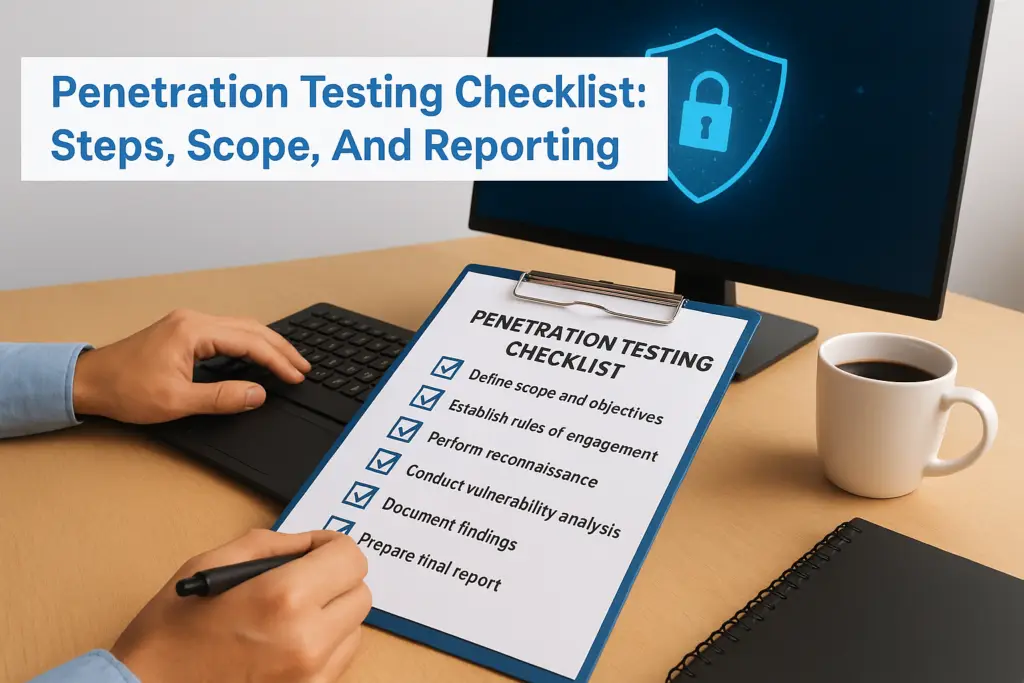
A poorly scoped pen test wastes time, burns budget, and gives you a false sense of security. A well-planned one exposes real vulnerabilities before attackers do. The difference almost always comes down to preparation, and that starts with a solid penetration testing checklist that covers everything from defining scope and rules of engagement to documenting findings in a clear, actionable report.
Whether you’re commissioning your first pen test or tightening up an existing programme, having a structured process matters. It keeps testers focused, stakeholders aligned, and results meaningful, especially when you’re working towards compliance standards like ISO 27001. At TrustedIA, we run penetration tests as part of our managed security services, and we’ve seen first-hand how the right preparation shapes the quality of every engagement.
This guide walks you through the essential steps, scope considerations, and reporting requirements you need to get a pen test right, from the initial statement of work through to remediation tracking.
What a penetration test should include
A penetration test is only as useful as the structure behind it. Without clearly defined components and documentation, you end up with a test that either misses critical attack vectors or produces a report so vague it fails to drive any real change. Before you run a single scan or send a single phishing email, you need to know exactly what your test must cover.
Core technical components
Every penetration test, regardless of type, should cover a consistent set of technical activities that map to known attack methods. Whether you’re running an external network test, an internal test, or a web application assessment, the checklist below gives you a reliable baseline to work from.

| Component | What it covers |
|---|---|
| Reconnaissance | Open-source intelligence (OSINT), DNS enumeration, exposed services |
| Vulnerability scanning | Automated scanning of ports, services, and known CVEs |
| Manual exploitation | Attempting to exploit confirmed vulnerabilities to test real-world impact |
| Privilege escalation | Testing whether an attacker can gain higher access once inside |
| Lateral movement | Checking if an attacker can pivot from one system to others |
| Web application testing | OWASP Top 10 checks, authentication flaws, injection points |
| Social engineering (if in scope) | Phishing simulations, pretexting attempts |
| Post-exploitation | Data exfiltration testing, persistence mechanisms |
| Reporting | Full findings, evidence, risk ratings, and remediation steps |
Your penetration testing checklist should reference each of these components and confirm whether they’re in scope before the engagement begins.
If a component isn’t explicitly included in the scope document, assume the tester won’t cover it.
Documentation you need before testing starts
Technical skill is only part of what makes a pen test succeed. The pre-engagement documentation is what keeps the test legal, focused, and accountable. Missing even one document can expose your organisation to risk, both operational and legal.
You need three core documents in place before any testing begins:
- Statement of Work (SOW): Defines the overall engagement, including objectives, deliverables, timeline, and responsibilities on both sides.
- Rules of Engagement (ROE): Sets the boundaries for the test. This includes testing windows, which systems are off-limits, what actions are permitted, and escalation procedures if a critical vulnerability is found mid-test.
- Permission to Test / Authorisation Letter: A signed document confirming that the system owner has explicitly authorised the testing. This is non-negotiable for any third-party systems, cloud environments, or shared infrastructure.
What good reporting looks like
Once testing wraps up, the final report is what you actually act on. A strong report does more than list vulnerabilities. It explains how each finding was discovered, what the potential business impact is, and exactly what you need to do to fix it.
Your report should include an executive summary for non-technical stakeholders, a technical findings section with evidence (screenshots, request/response data), a risk rating for each finding using a recognised framework like CVSS, and a remediation roadmap with prioritised steps. Anything less than this makes it difficult to turn findings into meaningful security improvements.
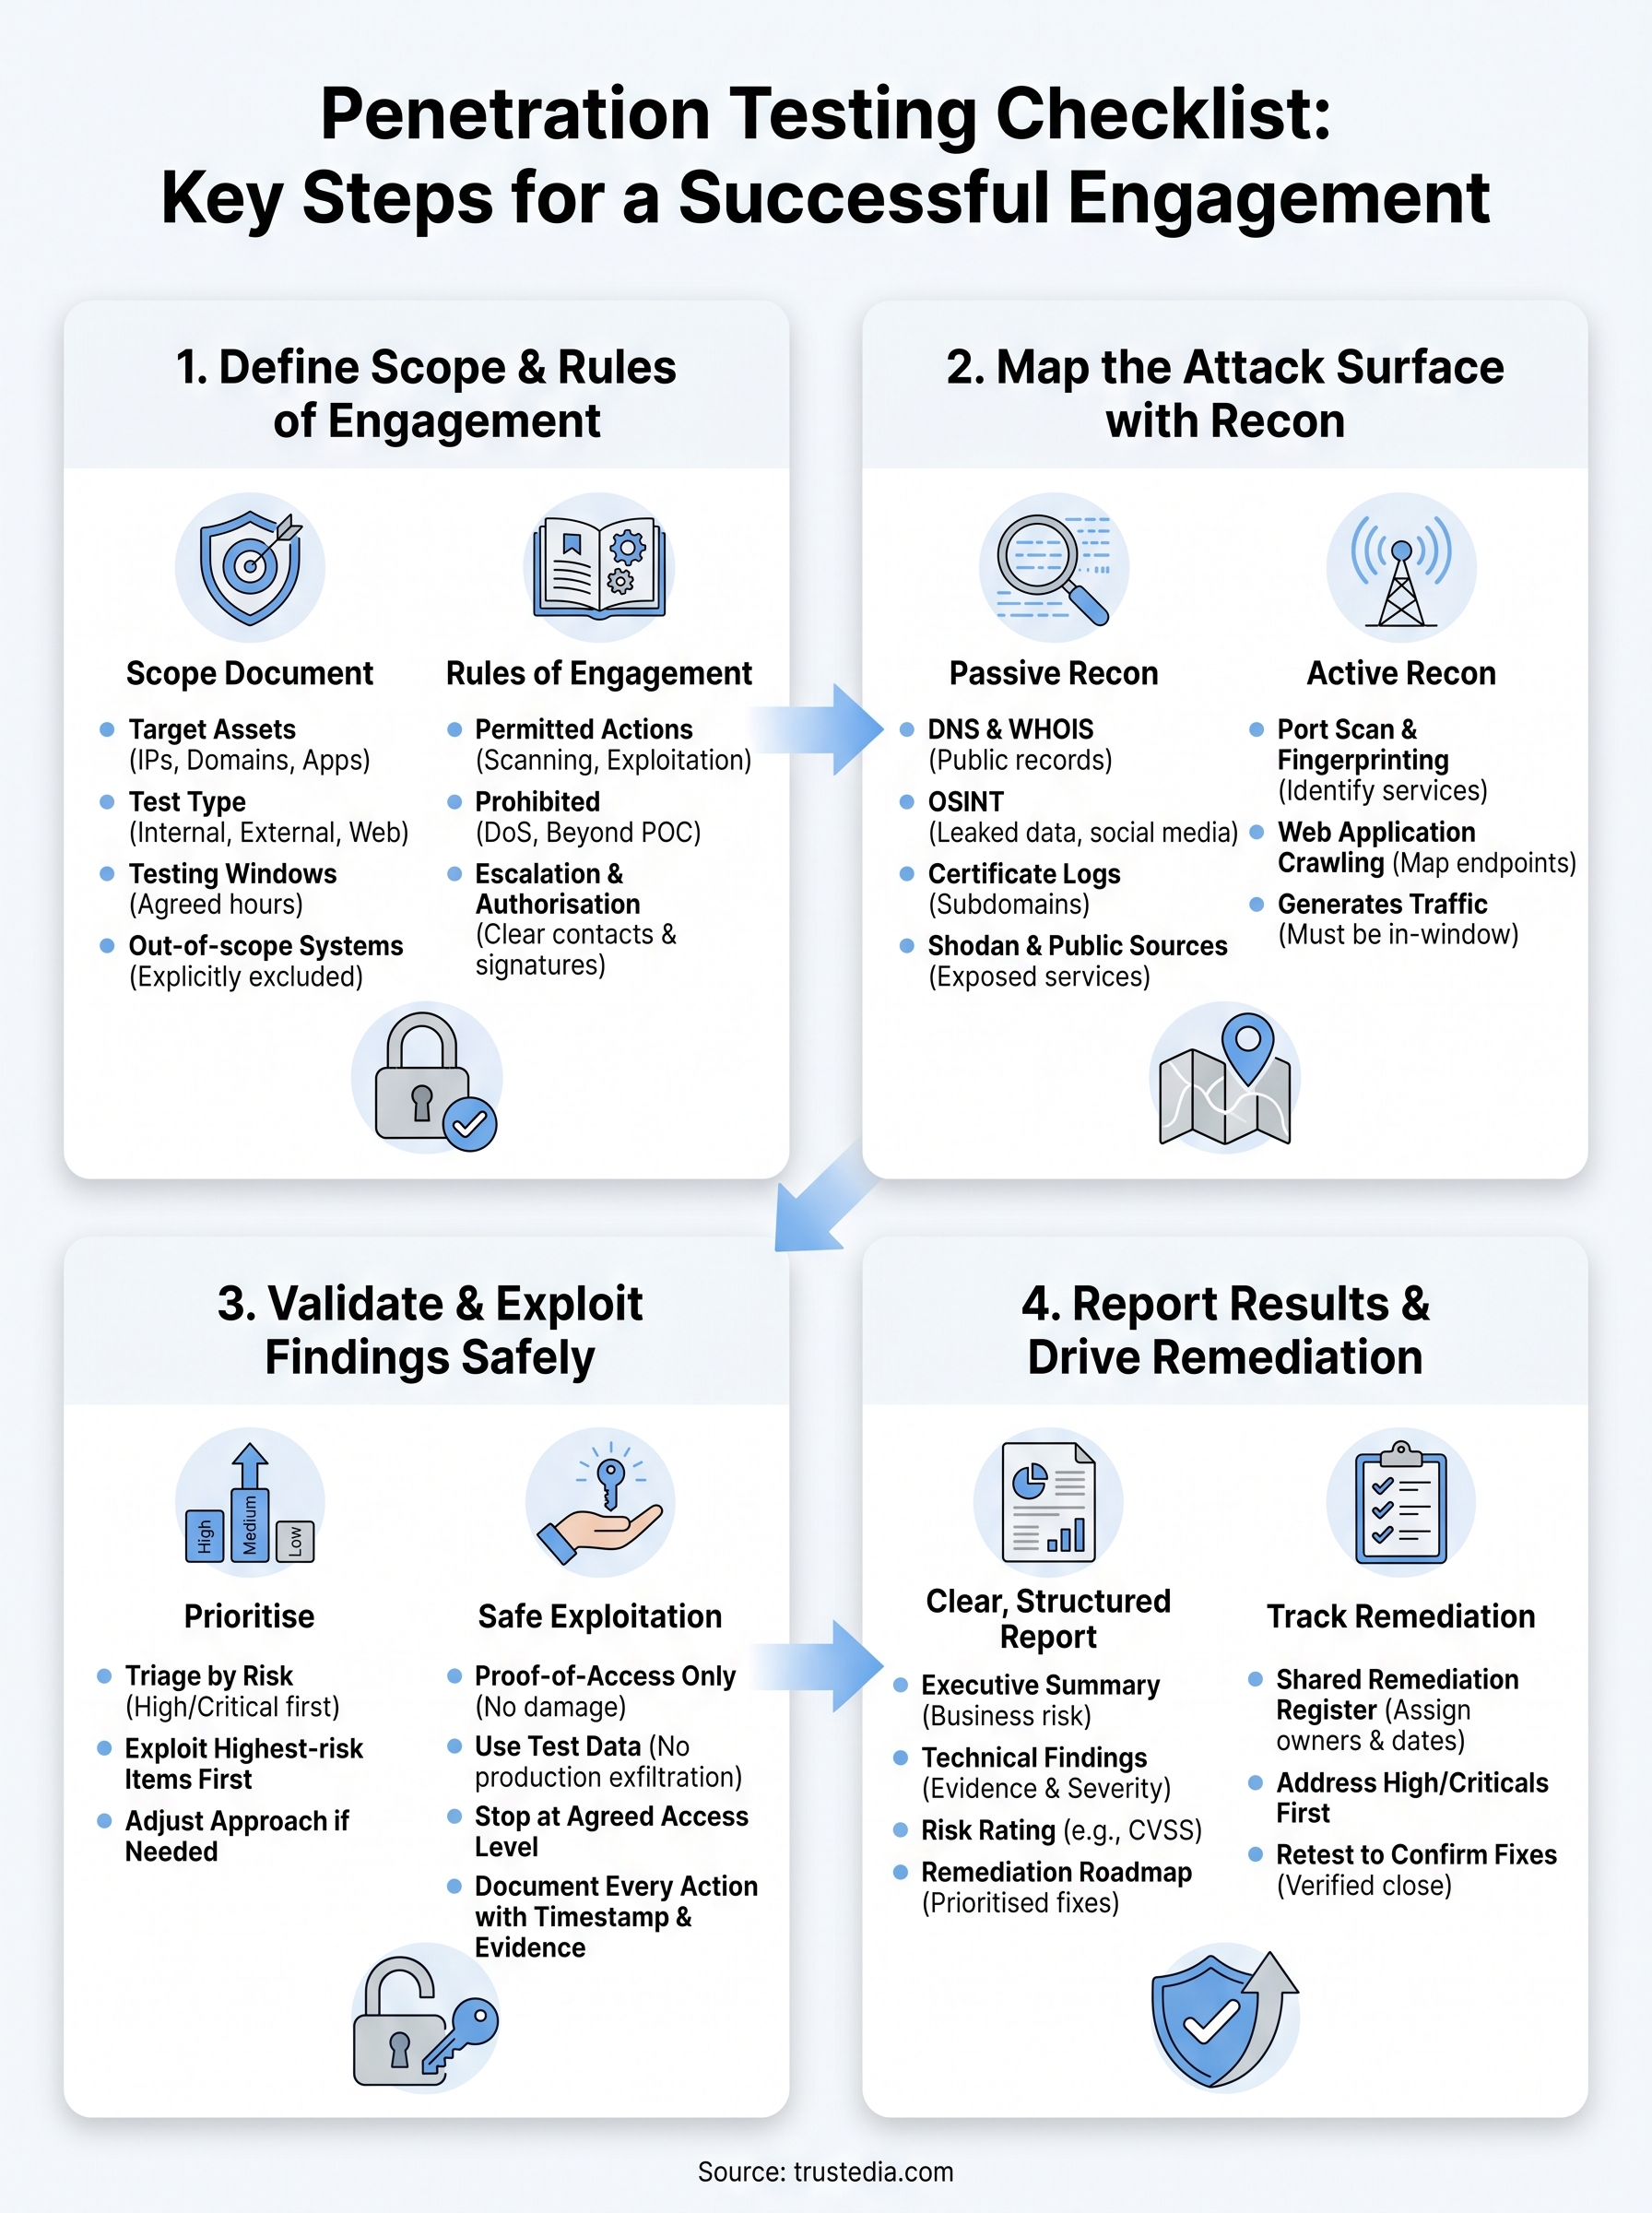
Step 1. Define scope and rules of engagement
Defining scope is the first and most critical task in your penetration testing checklist. Without a precise scope, testers either cover too much, causing disruption to live systems, or too little, missing the highest-risk areas entirely. You need to lock down what systems are in scope, what methods are permitted, and what the test objectives are before any technical work begins. Skipping this step is the single fastest way to produce results that your team cannot act on.
What to include in your scope document
Your scope document acts as the single source of truth for the entire engagement. It should specify target IP ranges, hostnames, web applications, and any third-party systems that form part of the test. If you host systems in a cloud environment such as AWS or Azure, you also need to check the provider’s penetration testing policy and obtain explicit written permission before including those assets.
Failing to get written permission for cloud-hosted systems is one of the most common compliance mistakes organisations make before an engagement begins.
Include the following items in every scope document:
- Target assets: IP addresses, domain names, application URLs, and API endpoints
- Test type: External, internal, web application, social engineering, or a combination
- Testing windows: Agreed hours when testing can run without affecting live operations
- Out-of-scope systems: Assets explicitly excluded, such as third-party payment processors
- Success criteria: What constitutes a completed and accepted engagement
Rules of engagement template
The Rules of Engagement (ROE) document sits alongside the scope document and governs tester behaviour throughout the engagement. It protects both your organisation and the testing team by setting clear boundaries and escalation procedures in writing. Use the template below as a starting point and adapt it to your specific engagement.
Rules of Engagement Template

Engagement name:   [Company name] Penetration Test [Date]
Testing team:      [Tester names / company]
Client contact:    [Name, role, direct phone number]
Testing window:    [Start date] to [End date], [Hours, e.g. 09:00-17:00 BST]
Permitted actions: [e.g. Network scanning, exploitation of identified vulnerabilities]
Prohibited:        [e.g. DoS attacks, accessing data beyond proof-of-concept]
Escalation:        Contact [name and number] immediately if critical impact occurs
Emergency stop:    [Name, phone number]
Authorisation:     [Client signature and date]
Step 2. Map the attack surface with recon
Reconnaissance is where your penetration testing checklist moves from paperwork to practice. Before you attempt a single exploit, you need a clear picture of what the target environment looks like from an attacker’s perspective. Recon tells you which systems are exposed, what software is running, and where the likely entry points are, so you focus your effort on what actually matters rather than scanning blindly.
Passive recon: what to gather first
Passive recon involves collecting information about a target without directly interacting with its systems. You rely on publicly available sources, which means you leave no footprint on the target’s logs at this stage. This is where you build your initial map of the organisation’s digital exposure.

Work through the following passive recon tasks and document every finding:
- DNS enumeration: Identify subdomains, mail servers, and name servers using tools like dig or publicly available DNS records
- WHOIS lookups: Confirm domain registration details, registrar, and any associated IP blocks
- OSINT gathering: Search for exposed credentials, leaked documents, or employee data via sources like LinkedIn, Pastebin, or public breach databases
- Certificate transparency logs: Query logs such as crt.sh to identify subdomains tied to SSL certificates
- Shodan and similar sources: Check what internet-facing services and banners are publicly visible for your target IP ranges
Document every passive recon finding as you go. Leaving it until the end means details get lost and your report loses credibility.
Active recon: probing the target
Active recon involves directly querying the target’s systems to confirm what is running and identify exploitable services. Unlike passive recon, this generates traffic and may appear in logs, so it must stay within your agreed testing windows and scope boundaries.
Run a structured port scan across all in-scope IP ranges to identify open ports and service versions. Follow this with service fingerprinting to confirm operating systems and application versions. For web applications, crawl the target to map all accessible endpoints, input fields, and authentication pages. Record each discovered asset in a recon findings log that maps directly to your scope document, so testers and stakeholders can trace every subsequent finding back to a confirmed, in-scope asset.
Step 3. Validate and exploit findings safely
Once recon is complete, your penetration testing checklist moves into the exploitation phase. This is where you confirm that identified vulnerabilities are real and exploitable, rather than theoretical flags from a scanner. The goal here is not to cause damage but to demonstrate real-world impact in a controlled, documented way that gives your organisation a clear picture of what an attacker could actually achieve.
Prioritise before you exploit
Not every vulnerability warrants immediate exploitation. Start by triaging your findings against the risk ratings you assigned during scanning. High and critical severity issues, such as unauthenticated remote code execution or SQL injection on a login page, should be your first targets. Medium and low findings follow once you have evidence on the high-risk items.
Always exploit the highest-risk findings first. If something causes unexpected disruption, you want that to happen early enough to adjust your approach before the test window closes.
Run each exploitation attempt within the testing windows defined in your Rules of Engagement, and log every action with a timestamp. This audit trail protects both your organisation and the testing team if any system instability occurs during the engagement.
Safe exploitation guidelines
Exploitation must stay within the boundaries your scope document defines. The table below outlines what is and is not acceptable during this phase.
| Action | Acceptable |
|---|---|
| Exploiting a vulnerability to gain proof-of-access | Yes |
| Exfiltrating real production data | No, use substitute test data only |
| Triggering a denial-of-service condition | No, unless explicitly in scope |
| Escalating privileges beyond the agreed test objective | No, stop at the agreed access level |
| Documenting exploitation steps with screenshots | Yes |
For each successful exploit, capture full evidence including the request sent, the response received, and a screenshot showing the level of access gained. This evidence goes directly into your technical report and is what turns a vulnerability finding from a claim into a verifiable proof that stakeholders can act on.
Step 4. Report results and drive remediation
The final step in your penetration testing checklist is where the technical work becomes business value. A report full of raw findings does nothing if stakeholders cannot read it, prioritise it, or act on it. Your goal is to produce a clear, structured report that serves both technical and non-technical audiences, and then track every finding through to confirmed remediation.
Structure your findings clearly
Every finding in your report needs to follow a consistent format so readers can quickly understand the severity, the evidence, and what they need to do. Use the template below for each individual finding.
Finding template

Finding ID:        [e.g. WEB-001]
Title:             [Short, descriptive name]
Severity:          [Critical / High / Medium / Low / Informational]
CVSS Score:        [e.g. 9.1]
Affected asset:    [URL, IP, or component]
Description:       [What the vulnerability is and how it works]
Evidence:          [Screenshot reference, request/response data]
Business impact:   [What an attacker could achieve by exploiting this]
Remediation steps: [Specific, actionable fix with recommended timescales]
References:        [e.g. OWASP, CVE identifier]
Alongside the technical findings, include an executive summary at the front of the report. This section should cover the overall risk posture, the number of findings by severity, and the two or three most critical issues in plain language. Decision-makers read this section first, and it often drives the budget and resource allocation for remediation.
Track remediation to completion
Producing the report is not the end of the engagement. Remediation tracking is what turns a list of findings into actual security improvement. Create a shared remediation register that maps each finding to an owner, a target fix date, and a current status.
A finding that sits unresolved six months after the test provides exactly the same risk as one that was never discovered.
Once your team has addressed the high and critical findings, schedule a retest to confirm the fixes are effective. Re-testing should cover the specific vulnerabilities identified rather than running a full engagement again, which keeps costs proportionate and gives you a verified close on each item in the register.
Wrap up and next steps
This penetration testing checklist gives you a repeatable structure to run engagements that produce real results rather than reports that gather dust. You now have the core components covered: scoping and rules of engagement, reconnaissance, safe exploitation, and a reporting format that drives remediation to completion. Each step builds on the last, and skipping any one of them reduces the value of the whole engagement.
Putting the checklist into practice is straightforward when you have the right team behind it. Whether you need a one-off assessment to satisfy a compliance requirement or an ongoing programme to stay ahead of emerging threats, the quality of your testing partner determines the quality of your outcomes. TrustedIA’s penetration testing service combines experienced testers with a structured methodology that maps directly to the steps in this guide.
Find out how TrustedIA can run your next penetration test and turn findings into genuine security improvements.