You’ve just discovered unusual activity on your network, or worse, someone has told you your customer data is already for sale online. Every minute you spend deciding what to do next adds risk, and mistakes made in the first hour often cost more than the breach itself. Knowing the right data breach response steps before you need them is what separates a contained incident from a business-ending one.
This guide walks through exactly what to do, in the order you need to do it. We cover immediate containment actions to stop the bleeding, how to properly assess the scope of what’s been accessed or stolen, who you’re legally required to notify and within what timeframe, and the practical steps for getting your systems back to normal.
We’ve built this framework from years spent running incident response for UK businesses under real pressure, not from theory. Whether you’re an IT manager facing your first serious incident or a compliance officer checking your existing plan against best practice, you’ll find a clear sequence to follow. We’ll also flag where ISO 27001 requirements intersect with breach response, since getting this right protects both your data and your certification status.
Why every business needs a data breach response plan
Most businesses only think seriously about breach response after they’ve had one. That’s backwards. A written, rehearsed plan turns a chaotic scramble into a controlled process, and the difference shows up directly in your bottom line. Businesses that contain a breach quickly and communicate clearly recover faster, keep more customers, and face lighter regulatory penalties than those improvising under pressure.
The true cost of reacting instead of planning
Every day without a plan is a day you’re gambling with decision paralysis. When an incident hits, someone has to decide within minutes whether to pull servers offline, who to call, and what to tell staff and customers. Without pre-agreed roles and a documented process, that decision often falls to whoever happens to be in the room, and it usually takes far too long. The National Cyber Security Centre reports that organisations with tested incident plans identify and contain breaches significantly faster than those without one (https://www.ncsc.gov.uk/collection/incident-management). Speed matters because attackers who linger undetected have more time to move laterally, escalate privileges, and exfiltrate data you didn’t even know was at risk.
A breach you’re prepared for costs a fraction of one you’re not.
Your legal obligations don’t wait for you to catch up
Regulators expect you to move fast, whether or not you feel ready. Under UK GDPR, you have a strict 72-hour window to notify the Information Commissioner’s Office once you become aware of a breach that risks people’s rights and freedoms (https://ico.org.uk/for-organisations/report-a-breach/). Missing that deadline, or submitting a notification full of gaps because you’re still figuring out what happened, damages your credibility with the regulator and can increase any eventual penalty. A plan gives you a template for that notification and a pre-identified team who already know their job, so the clock doesn’t beat you.
Where ISO 27001 fits into your planning
Certification bodies don’t just want to see that you have a policy document sitting in a folder. Annex A of ISO 27001 requires evidence of a functioning incident management process, including detection, reporting, assessment, and lessons learned. Auditors will ask to see records from real incidents or, at minimum, evidence of tested tabletop exercises. Treat your response plan as a living operational tool rather than paperwork, and you’ll find your certification renewal becomes far less stressful.
A solid plan should cover, at minimum:
- Roles and escalation paths: who leads, who supports, who has final sign-off on public statements
- Detection and logging procedures: how alerts are triaged and confirmed as genuine incidents
- Containment playbooks: pre-approved actions for common scenarios like ransomware or credential theft
- Notification templates and contact lists: regulators, insurers, customers, and law enforcement
- Recovery and review steps: how you restore systems and capture lessons for next time
Build that structure now, while you have time to think clearly, and every step that follows in this guide becomes something you execute rather than invent under pressure.
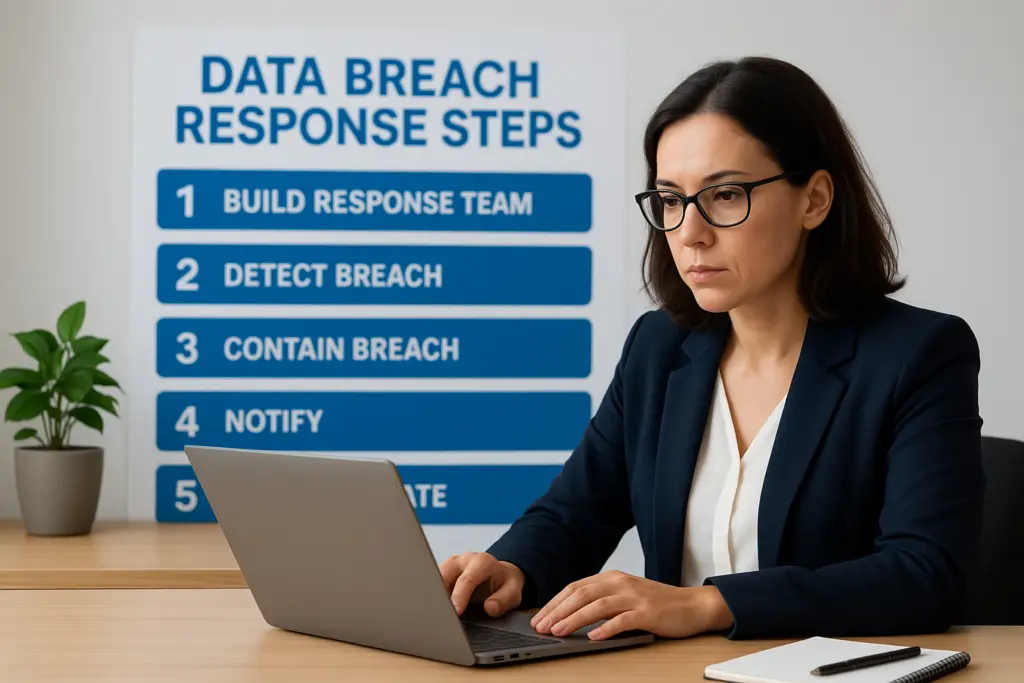
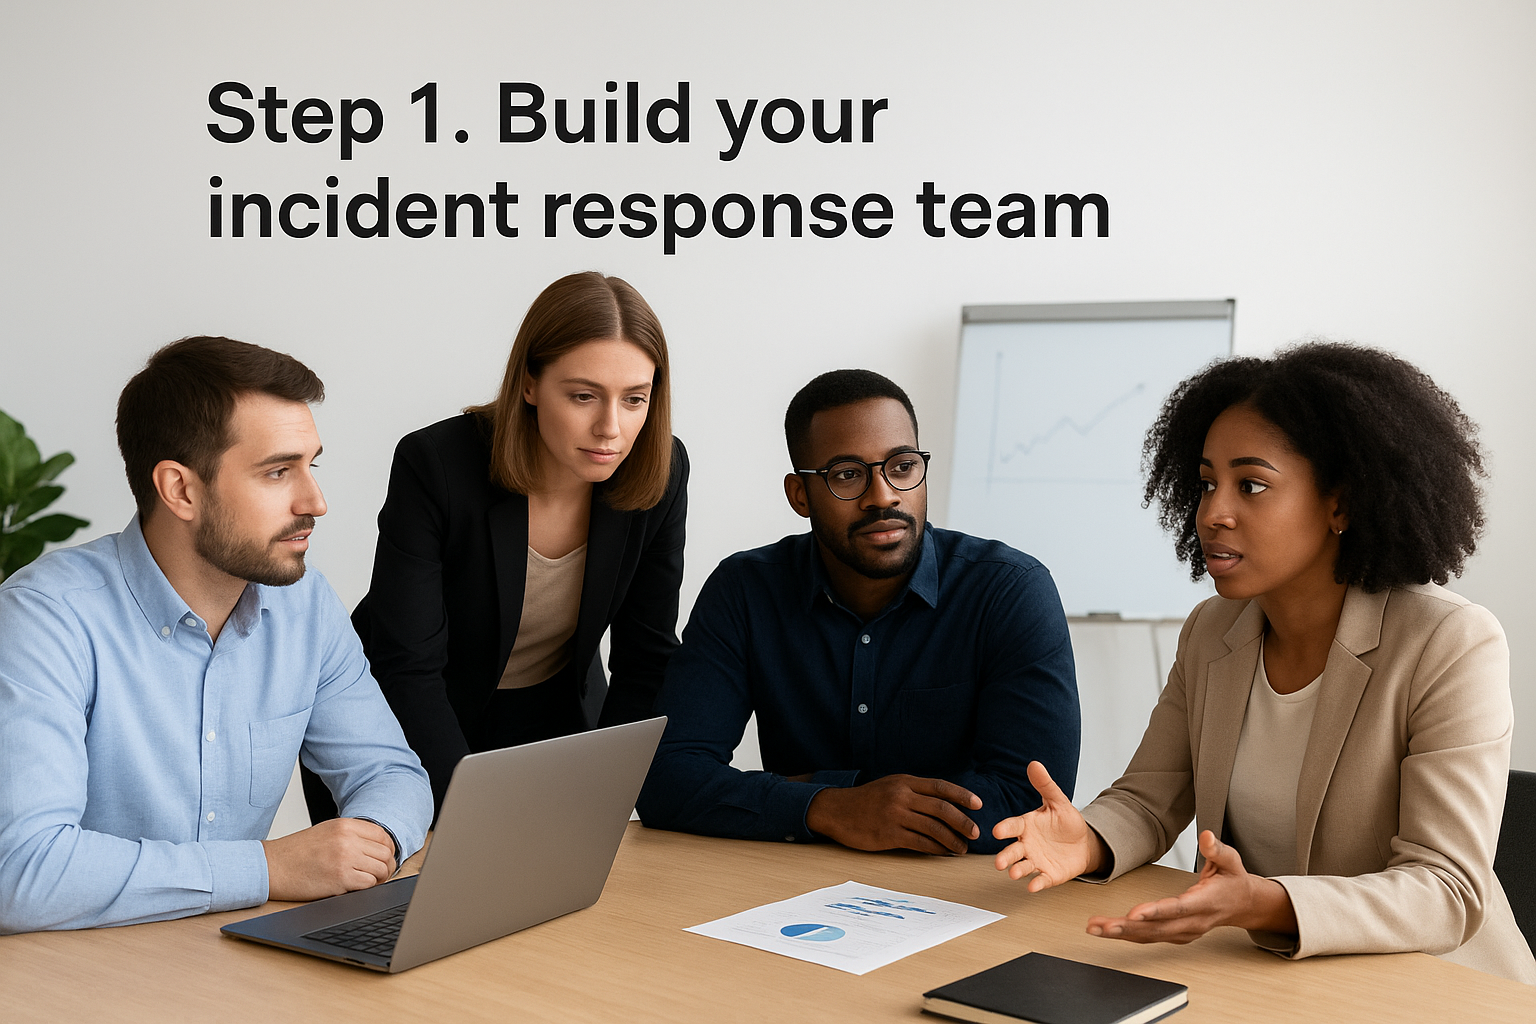
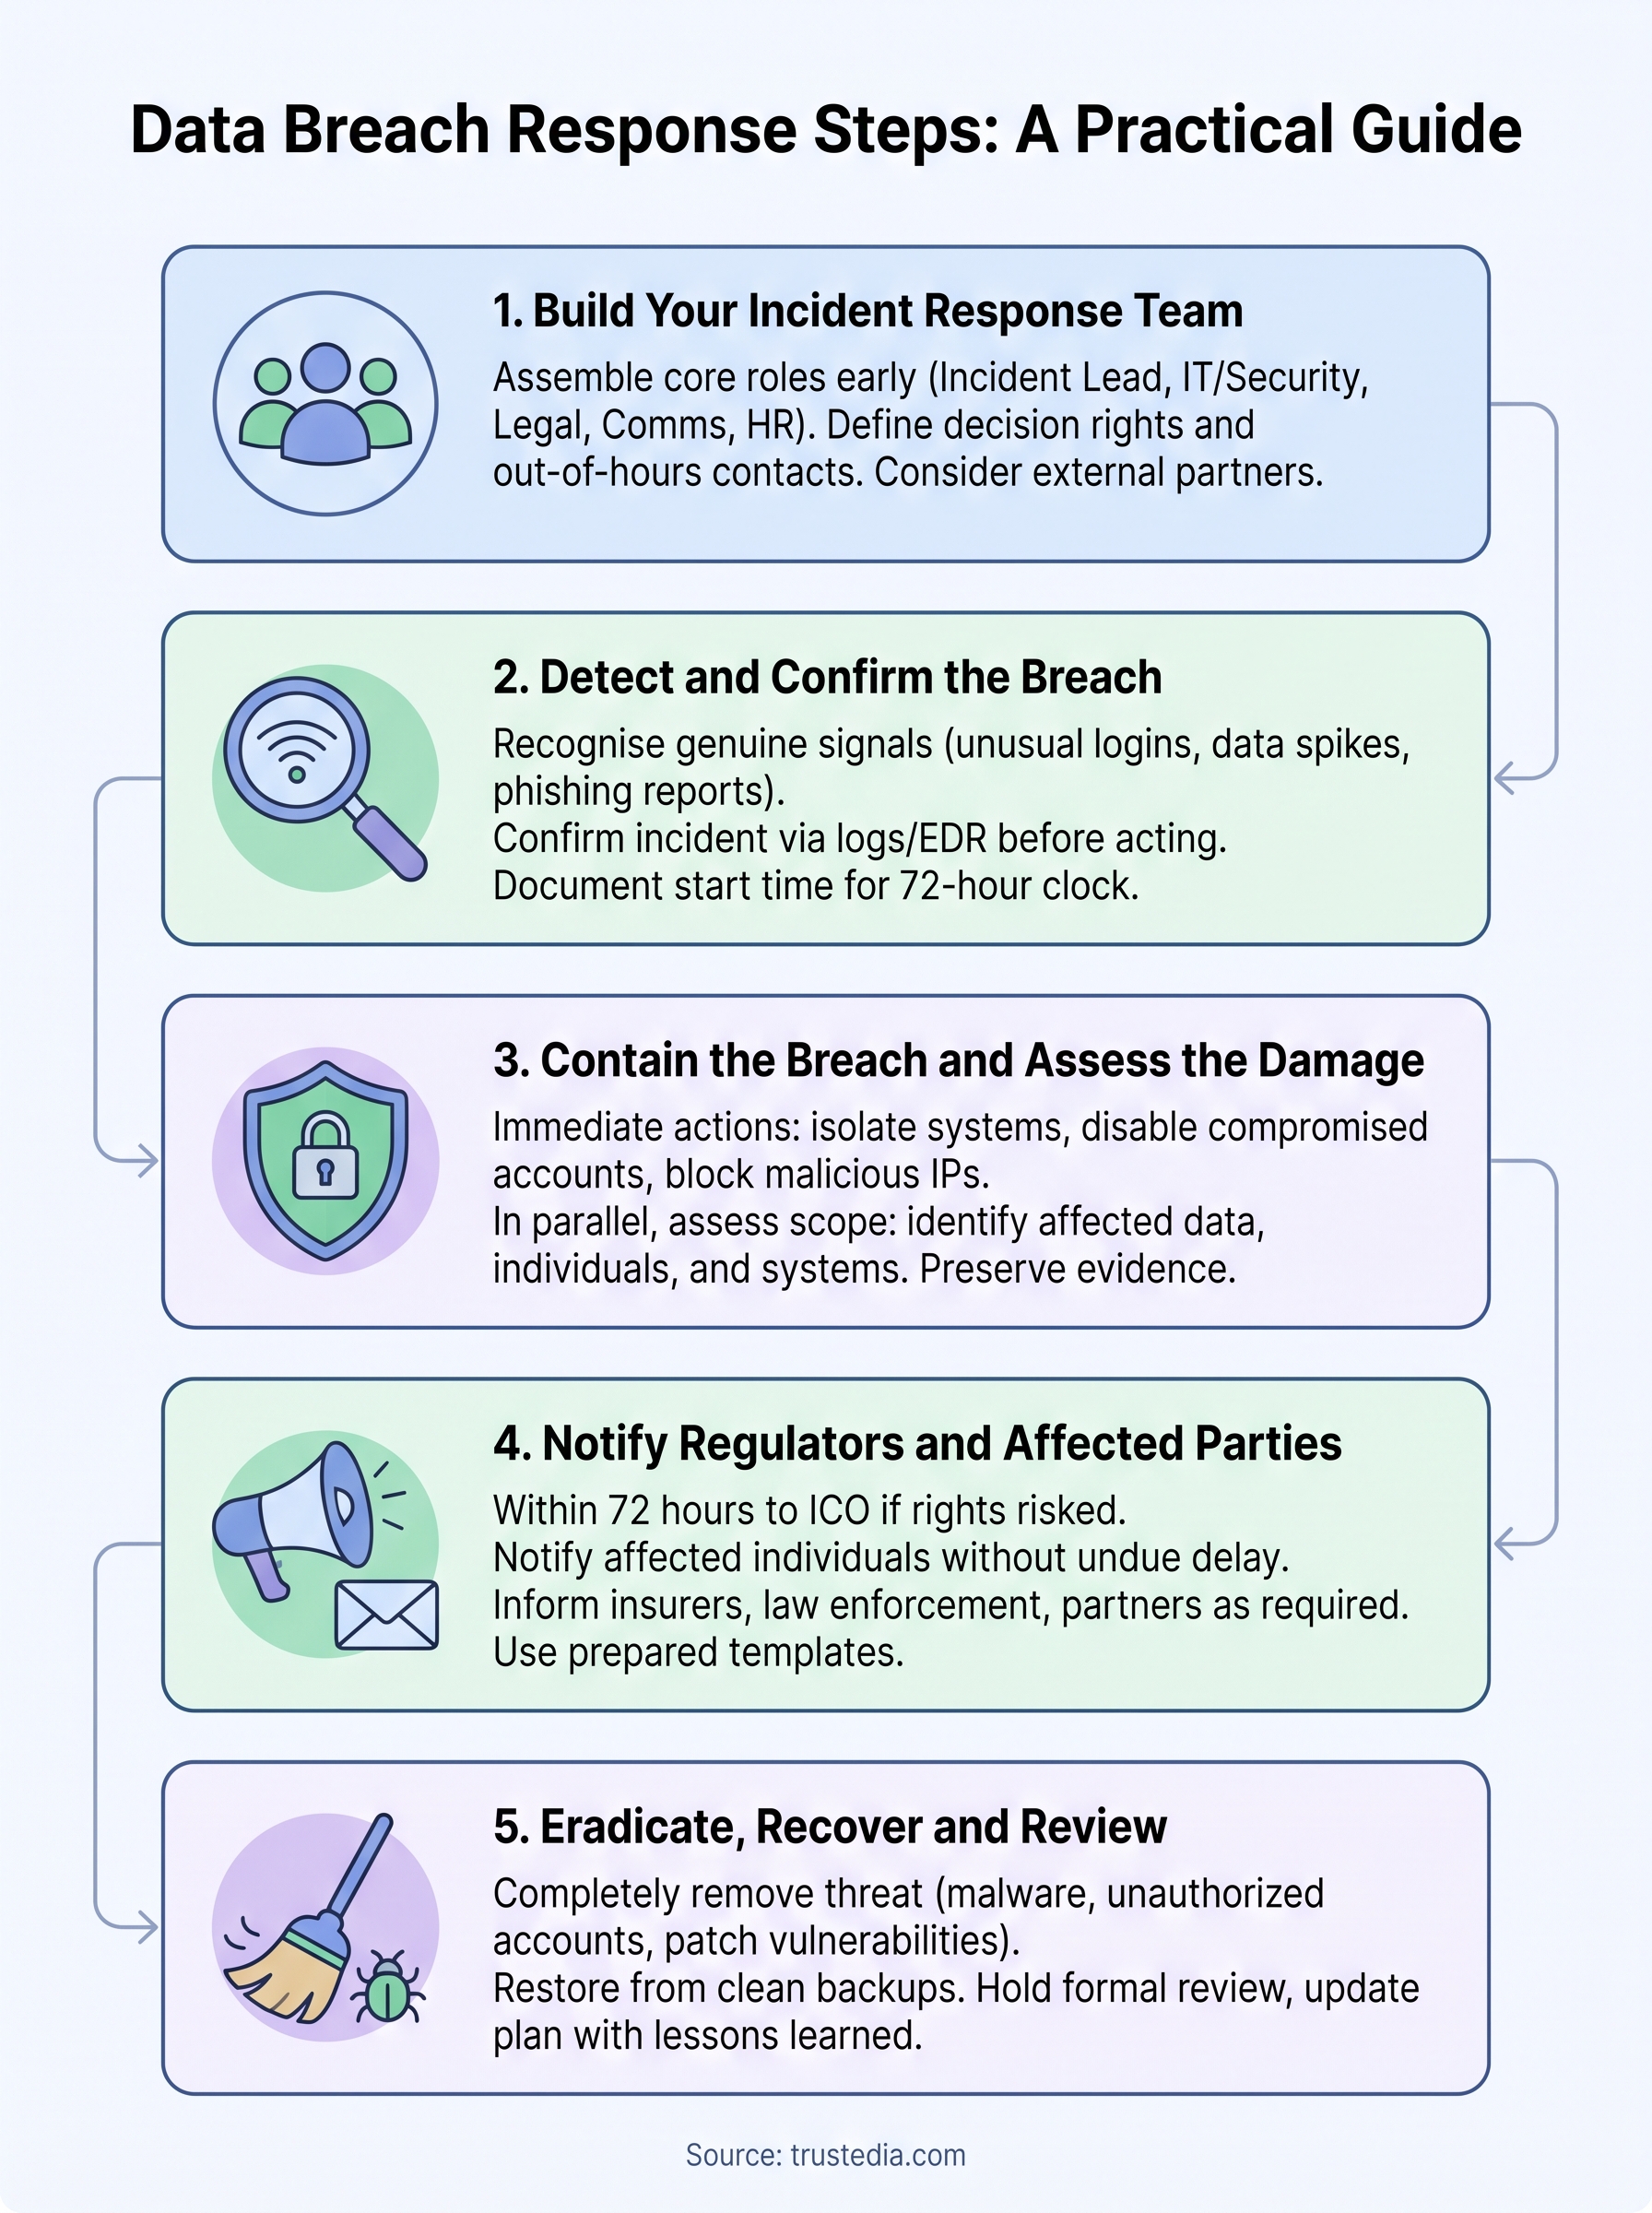
Step 1. Build your incident response team
Assembling the right people before an incident happens is the single most important step in this whole process. A data breach response run by whoever picks up the phone first will always be slower and messier than one led by a named team with practised roles. This isn’t about hiring new staff, it’s about deciding, in advance, who does what when the pressure is on, and making sure those people know it too.
Who belongs on your core team
Casting the net too wide creates confusion, and too narrow leaves gaps when key people are unavailable. Your core response team should be small enough to make fast decisions but cover every function an incident touches: technical, legal, communications, and leadership.
| Role | Responsibility |
|---|---|
| Incident lead | Coordinates the response, makes final calls, reports to the board |
| IT/security lead | Investigates the technical scope, directs containment |
| Legal counsel | Advises on notification duties and liability |
| Communications lead | Manages staff, customer, and press messaging |
| HR representative | Handles internal disciplinary or staff welfare issues |
| External IR partner | Provides forensic expertise and surge capacity |
Set decision rights before the crisis hits
Defining who can pull a server offline or authorise a public statement matters far more once systems are compromised and everyone’s stressed. Give your incident lead explicit authority to make containment decisions without waiting for a full board sign-off, because delay at this stage almost always makes things worse.
The team you build on a calm Tuesday afternoon is the one that saves you during a 3am breach.
List every team member’s mobile number, a backup contact, and an out-of-hours escalation route in your plan, not buried in an email chain nobody can find under pressure. If your organisation lacks in-house forensic or legal expertise, agree a retainer with an external incident response partner now, not while attackers are still inside your network. Many businesses, including those preparing for ISO 27001 certification, bring in specialists like TrustedIA’s CyberSOS team precisely so they have proven expertise on call rather than scrambling to find it mid-incident.
Step 2. Detect and confirm the breach
Speed only helps if you’re looking in the right places. Most organisations don’t discover a breach through their own monitoring; they hear it from a customer, a supplier, or a criminal demanding payment. Getting early detection right means combining automated alerts with a habit of taking odd reports seriously, because the gap between compromise and discovery is where the real damage happens.
Know what a genuine signal looks like
Not every alert is an incident, but every incident starts as an alert someone chose to investigate or ignore. Train your team to recognise the patterns that actually matter:
- Unusual login times or locations flagged by your identity provider
- A spike in outbound data transfer from a single endpoint
- Antivirus or EDR alerts that were dismissed as false positives before
- Staff reporting phishing emails that reference real internal projects or names
- Third parties or customers reporting fraudulent activity linked to your systems
Treat every unexplained anomaly as a breach until you’ve proven otherwise, not the other way round.
Confirm the incident before you act on it
Jumping straight to containment without confirming what’s actually happening wastes time and can tip off an attacker who’s still mapping your network. Your IT or security lead should pull logs, isolate affected accounts for review, and cross-check activity against known baselines before declaring a formal incident. This confirmation stage typically takes minutes, not hours, if you already have centralised logging and an EDR platform in place; it stretches into days if you’re relying on manual checks across disconnected systems.
Document the exact time you first suspected an issue and the time you confirmed it, because both timestamps matter later. Under UK GDPR, your 72-hour notification clock starts from when you become aware of the breach, not from when your investigation concludes, so precise logging here protects you if the ICO ever questions your timeline (https://ico.org.uk/for-organisations/report-a-breach/). The National Cyber Security Centre publishes guidance on setting up monitoring that catches these signals earlier, which is worth reviewing alongside your own detection tools (https://www.ncsc.gov.uk/collection/incident-management).
Once you’ve confirmed a genuine incident, move immediately to containment. Waiting for a complete picture before acting is a mistake many teams make; you contain first and investigate the full scope in parallel, which is exactly where the next step picks up.
Step 3. Contain the breach and assess the damage
Once you’ve confirmed a genuine incident, your priority shifts to stopping it spreading while you build an accurate picture of what’s been touched. Containment and assessment happen in parallel, not in sequence, because waiting for a complete scope before acting gives attackers more time to move deeper into your network. Move fast, but move deliberately, since sloppy containment can destroy evidence you’ll need later for both your investigation and any regulatory notification.
Short-term containment actions
Your first moves should limit damage without tipping off an attacker who might still be active inside your systems. Common short-term actions include:
- Isolating affected endpoints or segments from the wider network, rather than shutting everything down
- Disabling compromised accounts and forcing password resets for anyone with related access
- Blocking malicious IP addresses or domains identified in your logs
- Preserving system images and log files before making changes, so forensic evidence survives
- Revoking API keys or tokens that may have been exposed
Contain fast enough to stop the spread, carefully enough to preserve the evidence you’ll need later.
Work out what’s actually been affected
Containment buys you time, but you still need to answer the questions that shape everything downstream: what data was accessed, how many people are affected, and whether the exposure involves special category information like health or financial records. Your IT or security lead should trace the attacker’s path through logs, identify every system touched, and cross-reference access logs against your data inventory to establish scope. This is where an internally developed tool like TrustedIA’s CRAFT framework proves its worth, giving you a structured way to map your security posture against what’s actually been compromised, rather than guessing.
Don’t assume the breach is limited to what triggered the initial alert. Attackers who gain a foothold often move laterally before you spot them, so check adjacent systems, shared credentials, and any third-party integrations that touch the affected environment. Bring in an external incident response partner at this stage if your internal team lacks forensic depth, particularly for anything involving ransomware or suspected data exfiltration, since misjudging the scope here directly affects how you handle notification in the next step. Get this assessment right, and the decisions you make about who to notify and what to tell them become far more straightforward.
Step 4. Notify regulators and affected parties
With containment underway and scope roughly mapped, you now face a set of legal and reputational decisions that can’t wait for a perfect picture. Notification isn’t optional once you’ve assessed a breach as risky to people’s rights and freedoms, and getting the timing and content wrong compounds the damage you’re already dealing with. Your legal counsel and communications lead should be working this step together, using the assessment from Step 3 as their evidence base rather than starting from scratch.

Who you must tell, and when
Different stakeholders carry different deadlines and different expectations, so map them out before an incident forces you to improvise.
| Recipient | Trigger | Typical timeframe |
|---|---|---|
| Information Commissioner’s Office | Risk to individuals’ rights and freedoms | Within 72 hours of awareness |
| Affected individuals | High risk to their rights and freedoms | Without undue delay |
| Cyber insurer | Any incident that may trigger a claim | As soon as practicable, per policy terms |
| Law enforcement | Suspected criminal activity | As soon as evidence supports a report |
| Business partners/suppliers | Shared systems or data affected | Per contractual obligations |
The Information Commissioner’s Office publishes a self-assessment tool to help you decide whether a breach meets the notification threshold, and it’s worth running through even when you’re fairly confident of the answer (https://ico.org.uk/for-organisations/report-a-breach/).
Notify too late and you look negligent; notify with confidence and clarity, and you look in control.
What to include in your notification
A rushed, vague notification erodes trust faster than the breach itself. Your notification template should already exist from your planning stage, ready to be filled with specifics rather than drafted under pressure. At minimum, include:
- A clear description of what happened and when you became aware of it
- The categories and approximate number of individuals affected
- The likely consequences for those individuals
- Measures already taken or planned to address the breach
- A named contact point for follow-up questions
Affected individuals need plain language, not legal jargon, plus practical steps they can take, such as changing passwords or watching for phishing attempts referencing the breach. Handle this customer communication honestly and promptly, and you’ll find far fewer complaints escalate to formal regulatory scrutiny.
Step 5. Eradicate, recover and review
Getting notification out doesn’t mean the incident is over. Eradication comes next: removing every trace of the attacker from your environment before you even think about restoring normal operations. Rushing this stage is how businesses end up dealing with the same intruder twice, because a single missed backdoor or lingering credential undoes all the containment work you’ve already done.
Remove the threat completely before you rebuild
Hunt down every artefact the attacker left behind, not just the one that triggered your original alert. Work through this checklist before declaring the environment clean:
- Remove malware, scripts, and unauthorised accounts from every affected system, not just the first one identified
- Patch the vulnerability that allowed initial access, whether that’s unpatched software, weak credentials, or a misconfigured service
- Rotate all passwords and certificates that touched the compromised environment, not just the obviously affected ones
- Verify eradication with a fresh scan or an external partner’s confirmation before moving to recovery
An incident isn’t over when the attacker leaves; it’s over when you’ve proven they can’t get back in.
Restore systems and capture what you learned
Recovery means bringing systems back online in a controlled sequence, prioritising critical business functions while monitoring closely for signs the threat has returned. Restore from clean, verified backups rather than the compromised environment itself, and keep heightened monitoring in place for weeks afterwards, since attackers sometimes probe for a second entry point once they know they’ve been evicted.
Once operations are stable, hold a formal review while details are still fresh. Bring your whole incident response team together, walk through the timeline honestly, and document what worked, what slowed you down, and what you’d change. This review is exactly what ISO 27001 auditors expect to see as evidence of a functioning incident management process, so treat it as a compliance requirement, not an optional debrief.
Update your written plan with every lesson learned, because the businesses that master data breach response steps over time are the ones that treat each incident as a rehearsal for the next, however painful that sounds in the moment. Feed findings back into your risk assessments, staff training, and technical controls, closing the loop between what actually happened and what your plan assumed would happen.
Turning your response plan into practice
Every step in this guide works together as one continuous process, not a checklist you tick off in isolation. Build your incident response team before you need one, sharpen your detection so genuine signals don’t get lost in noise, contain fast without destroying evidence, notify with confidence, and treat every recovery as a chance to close gaps your plan didn’t anticipate. Skip any single stage and the whole sequence weakens.
Getting this right on your own, especially under real pressure, asks a lot of an internal team that’s never run a live incident before. That’s exactly why businesses bring in specialists who’ve done this repeatedly, across sectors, under genuine time pressure. If you’d rather test your current plan against real expertise than find its gaps mid-breach, get in touch with TrustedIA and put a proven incident response partner behind your business before you need one.