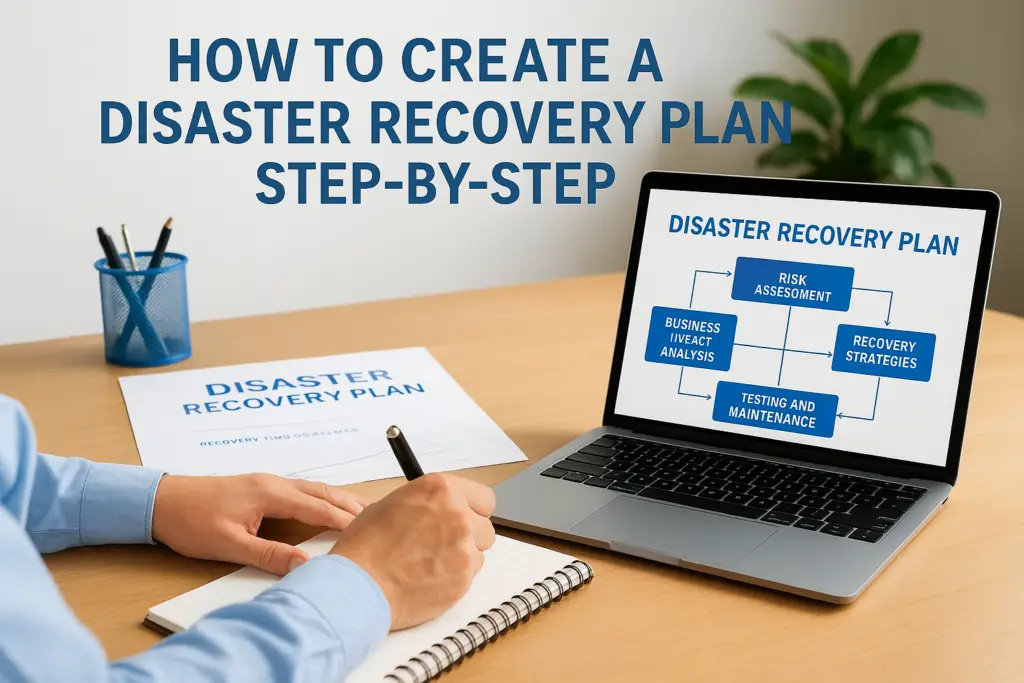
A single ransomware attack, server failure, or data breach can bring operations to a grinding halt, sometimes for days. The difference between a business that recovers quickly and one that struggles to survive often comes down to one thing: whether someone took the time to figure out how to create a disaster recovery plan before the worst happened. Yet many organisations still operate without a formal, documented strategy, relying on assumptions and ad-hoc fixes that fall apart under real pressure.
If you’re here, you’re probably aware that your business needs a proper plan but aren’t sure where to start, what to include, how to set recovery objectives, or how to make sure the plan actually works when it matters. That’s a reasonable position to be in, and this guide is built to walk you through every step, from risk assessment and business impact analysis to testing, maintenance, and everything in between. You’ll find actionable steps, practical checklists, and clear examples rather than abstract theory.
At TrustedIA, disaster recovery is a core part of what we do. With over 30 years of experience delivering managed security services, business continuity planning, and incident response through our CyberSOS service, we’ve helped organisations across the UK build recovery strategies that hold up under real-world conditions. This guide draws on that hands-on expertise to give you a framework you can actually implement, whether you’re starting from scratch or tightening up an existing plan.
What a disaster recovery plan covers and what it does not
Before you learn how to create a disaster recovery plan, you need to understand what you’re actually building. A disaster recovery plan (DRP) is a documented, structured approach that defines how your organisation restores IT systems, data, and critical operations after a disruptive event. That event could be a cyberattack, a hardware failure, a fire, or a flood. The plan tells your team exactly what to do, in what order, and who is responsible for each action. Without this clarity, even experienced IT staff can make costly mistakes under pressure.
What a DR plan covers
A disaster recovery plan focuses specifically on technology recovery: restoring servers, applications, networks, databases, and the data that runs your business. When you work through your plan properly, it addresses several interconnected areas that together allow your organisation to return to a functional state.
Here is what a well-built disaster recovery plan addresses:
| Area | What it defines |
|---|---|
| Recovery objectives | RTO (how fast systems must recover) and RPO (how much data loss is acceptable) |
| Asset inventory | Critical IT assets, cloud services, endpoints, and their dependencies |
| Risk scenarios | Documented threats: ransomware, hardware failure, power outages, and more |
| Recovery strategies | Failover, cloud backup restoration, bare-metal recovery, and similar approaches |
| Runbooks | Step-by-step procedures your team follows during each recovery task |
| Roles and responsibilities | Named individuals assigned to specific actions to eliminate ambiguity |
| Communication protocols | How and when to notify staff, customers, suppliers, and regulators |
| Testing and review schedules | Planned exercises and a process for keeping the plan current |
A disaster recovery plan is only as good as its last successful test. A plan that has never been exercised is a guess, not a plan.
What a DR plan does not cover
A disaster recovery plan is not the same as a business continuity plan (BCP), and this distinction matters. A BCP addresses how your business keeps operating during a disruption, covering people, processes, physical locations, and supplier relationships. Your DRP sits inside that broader framework and handles the technology-specific recovery piece only. Treating them as the same document is a common mistake that leaves gaps in both.
Your disaster recovery plan also does not replace an incident response plan. An incident response plan governs how you detect, contain, and investigate a threat, particularly a cybersecurity incident. The DRP takes over after containment, when the focus shifts from stopping the threat to restoring normal operations. Trying to merge these two documents into one typically produces something too vague to be useful for either purpose. Keep them separate, cross-reference them clearly, and make sure the people responsible for each one know exactly where their role begins and where it ends.
Step 1. Set scope, goals, and recovery governance
The first step in learning how to create a disaster recovery plan is deciding what the plan covers and who is accountable for it. Without a clearly defined scope, your plan will either sprawl into something unmanageable or leave critical systems unprotected. Before you write a single recovery procedure, you need two things locked in: the boundaries of your plan and the people responsible for owning it.
Define the scope and goals of your plan
Your scope statement needs to answer three questions: which systems and services fall inside the plan, which locations or business units it applies to, and which incident types trigger it. Defining your goals upfront gives every recovery decision a clear reference point, and documenting what sits outside the scope is just as important as documenting what sits inside it.
Use this template to capture your scope before moving on:
| Scope element | Your answer |
|---|---|
| Systems covered | e.g. ERP, email, file servers, cloud platforms |
| Locations covered | e.g. UK head office, remote workers, Azure environment |
| Incident types covered | e.g. ransomware, hardware failure, data centre outage |
| Out of scope | e.g. physical security, HR processes, supplier contracts |
Clear scope boundaries prevent teams from arguing about responsibilities during a live incident, when every minute of confusion has a real cost.
Assign named recovery governance roles
A plan without named individuals attached to each role will fail at the moment it matters most. Job titles change and people leave, so your governance section must list specific names alongside each role, with a backup contact for each one.
Assign at least these four roles before you move any further:
- DRP Owner: Accountable for the plan overall; typically the IT Manager or CISO
- Recovery Coordinator: Manages the recovery process during an active incident
- Technical Lead: Executes the technical runbooks and restoration tasks
- Communications Lead: Handles notifications to staff, customers, and regulators
Once scope and governance are in place, every other part of your plan has a solid base to build from.
Step 2. Map critical services, data, and dependencies
You cannot protect what you haven’t identified. Before you write a single recovery procedure, you need a complete picture of every system, service, and dataset your business relies on to operate. This mapping exercise forms the foundation of your plan because every decision about recovery priority and strategy flows from understanding exactly what you have and how it all connects.
Build your asset inventory
Start by listing every IT asset that, if it failed, would stop the business from functioning. That means servers, cloud services, databases, applications, endpoints, and network infrastructure. For each asset, capture its function, the data it holds, who owns it, and where it lives (on-premises, cloud, or hybrid).
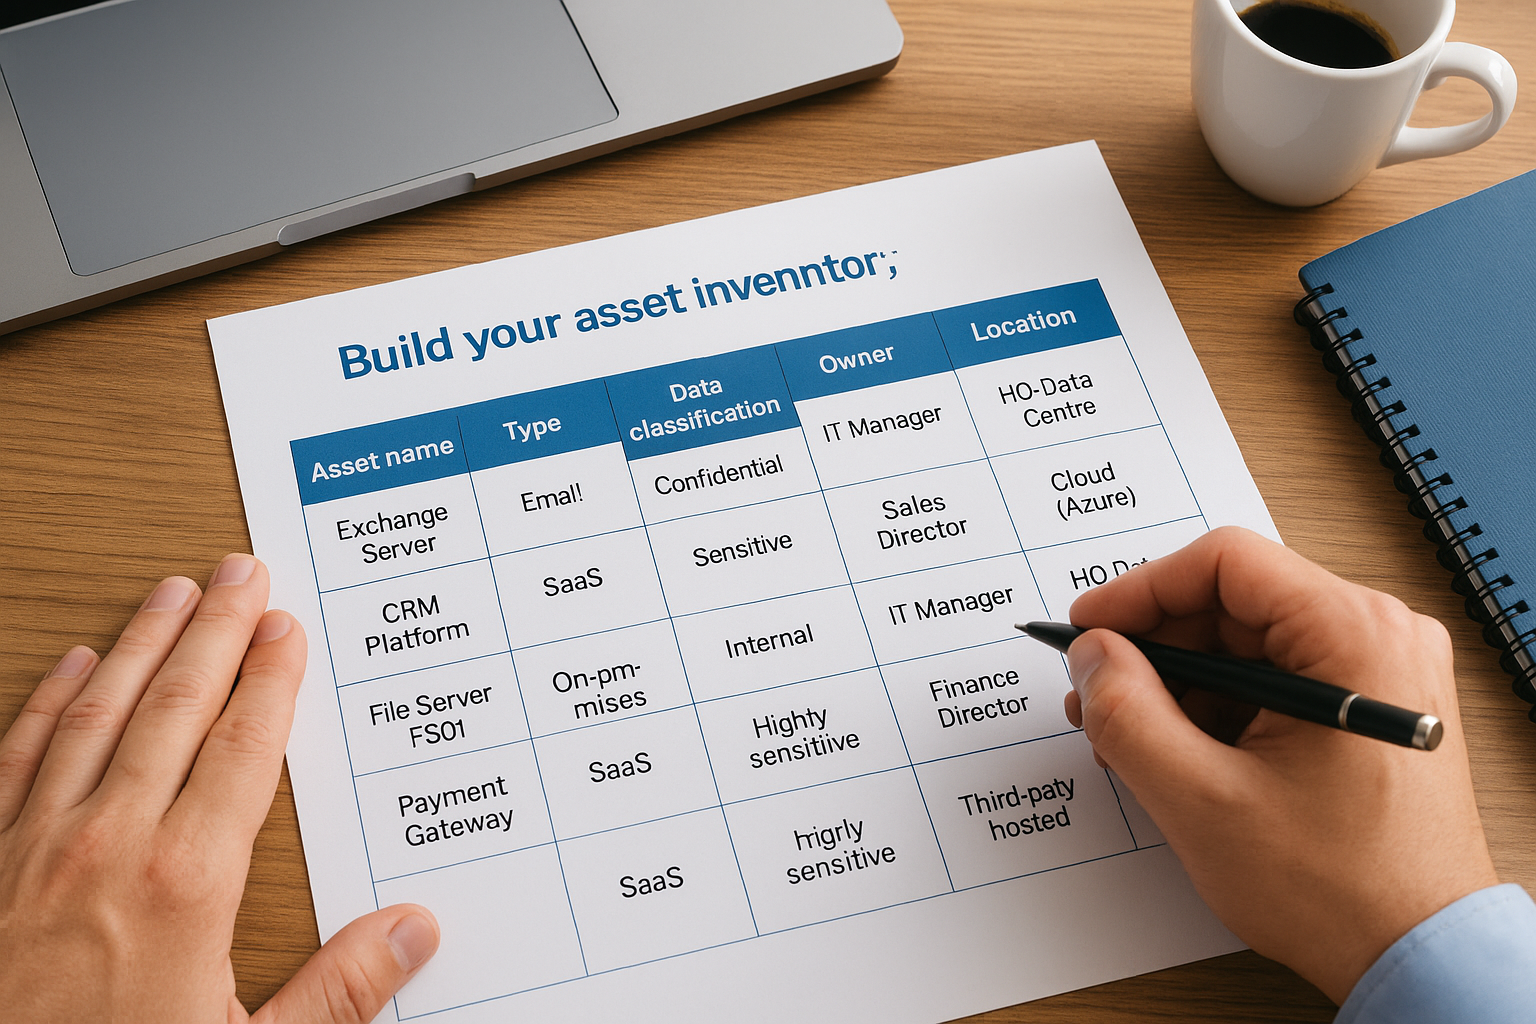
Use this template as a starting point:
| Asset name | Type | Function | Data classification | Owner | Location |
|---|---|---|---|---|---|
| Exchange Server | On-premises | Confidential | IT Manager | HQ Data Centre | |
| CRM Platform | SaaS | Customer records | Sensitive | Sales Director | Cloud (Azure) |
| File Server FS01 | On-premises | Document storage | Internal | IT Manager | HQ Data Centre |
| Payment Gateway | SaaS | Transaction processing | Highly sensitive | Finance Director | Third-party hosted |
Work through each business unit to avoid gaps. Systems that seem minor in isolation often turn out to be critical once you trace what depends on them, so resist the urge to shortcut this step.
Identify dependencies and single points of failure
Once your inventory is complete, map the dependencies between assets. An application might rely on a specific database, an authentication service, and a network connection. If any one of those fails, the application fails with it, even if the application server itself is perfectly healthy.
Undocumented dependencies are one of the most common reasons why recovery takes far longer than expected during a real incident.
Document these links clearly, and flag any single points of failure where one component, if lost, takes down multiple systems simultaneously. This dependency mapping directly informs your recovery priorities in the next step, and it is one of the most practical elements of learning how to create a disaster recovery plan that holds up under real pressure.
Step 3. Run a risk assessment and business impact analysis
With your asset inventory complete, you now have everything you need to assess what could go wrong and how badly it would hurt. This step combines two related but distinct exercises: a risk assessment, which identifies and scores the threats your organisation faces, and a business impact analysis (BIA), which quantifies the operational and financial consequences of each scenario. Together, they tell you where to focus your recovery effort first.
Assess the threats your organisation faces
Your risk assessment lists every credible threat to the systems you mapped in Step 2, then scores each one by likelihood and potential impact. This scoring gives you a ranked list of scenarios to plan for, rather than trying to recover from everything at once with equal urgency.

Use this template to document your risk register:
| Threat scenario | Likelihood (1-5) | Impact (1-5) | Risk score | Affected assets |
|---|---|---|---|---|
| Ransomware attack | 4 | 5 | 20 | File server, ERP, email |
| Hardware failure (server) | 3 | 4 | 12 | HQ data centre systems |
| Power outage (prolonged) | 2 | 4 | 8 | All on-premises systems |
| Accidental data deletion | 4 | 3 | 12 | File server, CRM |
| Third-party SaaS outage | 3 | 3 | 9 | Payment gateway, CRM |
Multiply likelihood by impact to get your risk score, then rank scenarios from highest to lowest. Any scenario scoring 15 or above should be treated as a priority when you design your recovery strategies in Step 5.
Conduct your business impact analysis
Your BIA translates each high-priority risk scenario into concrete business consequences. For each scenario, document how long the business can function before the outage causes serious harm, which revenue streams are affected, and whether any regulatory reporting obligations are triggered (for example, under UK GDPR if personal data is compromised).
The BIA is what turns a theoretical risk into a recovery deadline your team must actually meet.
Learning how to create a disaster recovery plan properly means treating the BIA as a decision-making tool, not a reporting exercise. The output feeds directly into your RTO and RPO targets in the next step, so document specific numbers rather than vague descriptions like "significant impact" or "minor disruption."
Step 4. Set RTO and RPO targets and recovery priorities
Your risk assessment and BIA from Step 3 give you the raw material for two of the most important decisions in how to create a disaster recovery plan: how fast you need to recover, and how much data loss your business can tolerate. These decisions are not guesses. They are time-bound commitments that shape every technical and strategic choice you make from this point forward.
Define your RTO and RPO
Recovery Time Objective (RTO) defines the maximum amount of time a system can remain unavailable before the disruption causes unacceptable business harm. Recovery Point Objective (RPO) defines the maximum age of data you can restore from backup without causing unacceptable loss. A payment system with an RTO of two hours and an RPO of 15 minutes demands a very different recovery architecture than a low-priority internal reporting tool with an RTO of 48 hours and an RPO of 24 hours.
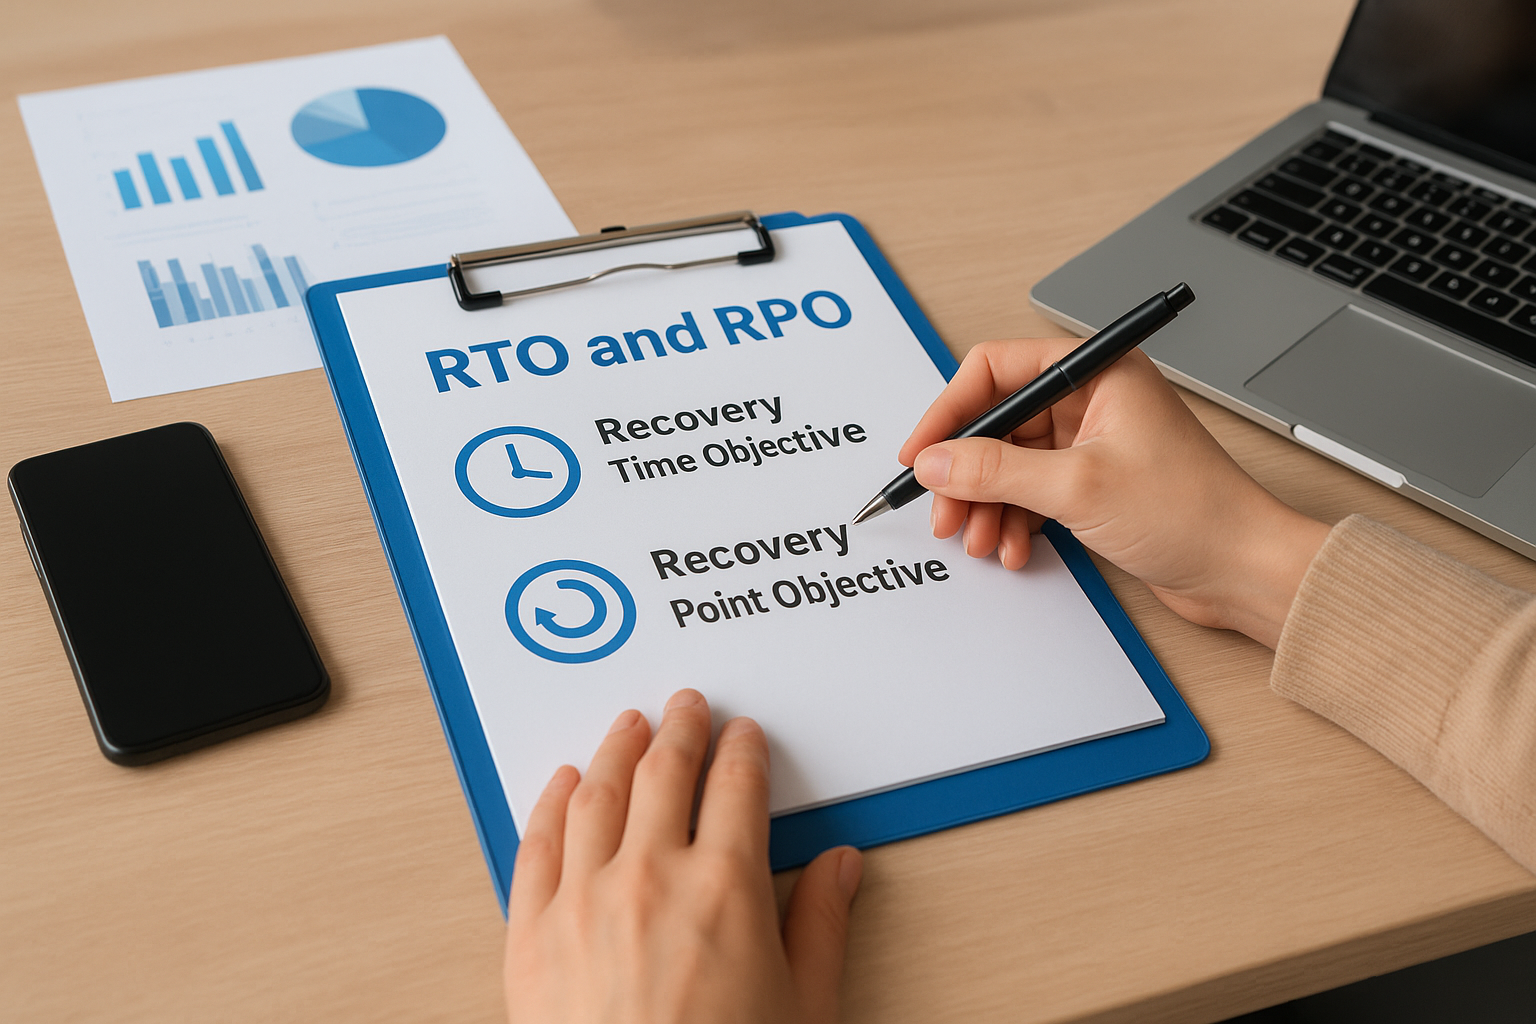
Setting RTO and RPO targets without input from business stakeholders produces numbers that look precise but reflect IT preferences rather than actual business requirements.
Capture your targets in a format your whole team can reference quickly:
| System | RTO | RPO | Justification |
|---|---|---|---|
| Payment gateway | 2 hours | 15 minutes | Revenue loss and regulatory risk |
| CRM platform | 4 hours | 1 hour | Sales continuity and customer data |
| Email (Exchange) | 4 hours | 4 hours | Internal and external communications |
| ERP system | 8 hours | 1 hour | Finance and operations dependency |
| Internal file server | 24 hours | 24 hours | Lower operational impact |
Assign recovery priorities
Once you have your RTO and RPO targets documented, rank every system into recovery tiers based on how tightly its targets are set and how many other systems depend on it. Tier 1 systems must recover first, followed by Tier 2, and so on. This ordering prevents your team from wasting time on lower-priority systems while business-critical services remain offline.
Assign each system to one of these three tiers:
- Tier 1 (Critical): RTO under 4 hours; failure halts revenue or triggers regulatory consequences
- Tier 2 (Important): RTO between 4 and 24 hours; failure reduces productivity significantly
- Tier 3 (Standard): RTO over 24 hours; failure causes inconvenience but not operational crisis
Step 5. Choose recovery strategies and design backups
Your RTO and RPO targets from Step 4 are commitments, and your recovery strategy is the technical mechanism that makes those commitments achievable. This is the step in how to create a disaster recovery plan where you decide how each system gets restored, what backup architecture supports it, and whether your current infrastructure can actually meet the deadlines you’ve set.
Match your strategy to your recovery tiers
Not every system needs the same recovery approach. Applying an expensive, high-availability solution to a Tier 3 file server wastes budget that belongs on your Tier 1 critical systems. Your recovery strategy for each tier should reflect the tightness of its RTO and RPO, the cost your business is willing to absorb, and the complexity your IT team can realistically manage during an incident.
| Recovery tier | Suitable strategies | Typical RTO |
|---|---|---|
| Tier 1 (Critical) | Hot standby, cloud failover, real-time replication | Under 4 hours |
| Tier 2 (Important) | Warm standby, automated cloud restore from snapshot | 4 to 24 hours |
| Tier 3 (Standard) | Cold backup restore, manual rebuild from image | Over 24 hours |
Your strategy only works if your team has practised it. A hot standby environment that nobody has ever failed over to is not a safety net.
Design your backup architecture
Once you’ve matched strategies to tiers, design the backup system that underpins each one. A reliable backup architecture follows the 3-2-1 rule: three copies of data, stored on two different media types, with one copy held offsite or in an immutable cloud location. This structure protects you against ransomware encryption of local backups, hardware failure, and physical site loss simultaneously.

Document your backup configuration using this template for each Tier 1 and Tier 2 system:
| System | Backup frequency | Backup type | On-site copy | Offsite/cloud copy | Immutable copy | Tested restore |
|---|---|---|---|---|---|---|
| ERP system | Hourly | Incremental + daily full | Yes (NAS) | Yes (Azure Blob) | Yes | Monthly |
| CRM platform | Every 4 hours | Cloud snapshot | No | Yes (vendor) | Yes | Quarterly |
Confirm that your restore process is documented in writing and that the person responsible for each system has actually completed a test restore within the last quarter.
Step 6. Write runbooks, roles, and communications
Recovery strategies only work when your team knows exactly what to do and in what order. This step in how to create a disaster recovery plan is where you translate your technical decisions into written procedures that any competent team member can follow under pressure, without relying on memory or improvisation.
Build your recovery runbooks
A runbook is a step-by-step procedure document for a specific recovery task, written clearly enough that someone unfamiliar with the system can execute it correctly. Each Tier 1 and Tier 2 system should have its own runbook covering the exact commands, tools, access credentials (or credential locations), and verification steps required to restore it.
Use this structure for every runbook you write:
| Runbook element | What to include |
|---|---|
| System name and tier | e.g. ERP System, Tier 1 |
| Trigger condition | e.g. Server unresponsive for more than 15 minutes |
| Pre-requisites | Access credentials, tools, network requirements |
| Step-by-step actions | Numbered steps, no assumptions |
| Verification check | How to confirm the system is fully restored |
| Escalation path | Who to contact if the runbook fails at any step |
A runbook that contains a step reading "restore from backup" without specifying which backup, where it lives, and how to mount it, is not a runbook. It is a placeholder.
Assign clear roles and backups
Each runbook must have a named primary owner and a named backup contact attached to it. When you assign roles, avoid mapping a single person to more than two critical runbooks, because incidents rarely affect only one system at a time. Document these assignments in a central roles table that sits at the front of your plan so every team member can locate it instantly.
Plan your communications
Your communications plan defines who gets notified, by whom, and at what point in the recovery timeline. Write separate notification templates for internal staff, customers, and regulators to avoid drafting messages during an active incident. For UK businesses, your ICO notification obligation under UK GDPR is 72 hours from awareness of a personal data breach, so your template must be ready before you need it.
Step 7. Test the plan and prove it works
A disaster recovery plan that has never been tested is built on assumptions. Testing is not a one-off event that happens after you write the document; it is an ongoing discipline that tells you whether your runbooks are accurate, your backup restores actually complete within your RTO, and your team can execute under pressure. This is one of the most overlooked steps in how to create a disaster recovery plan that holds up in practice, not just on paper.
Choose the right type of test
Different tests serve different purposes, and running only one type leaves blind spots. Start with lower-risk exercises before progressing to full simulations, particularly if your team has never practised recovery before. Each test type produces specific evidence you can document and act on.
| Test type | What it involves | What it proves |
|---|---|---|
| Tabletop exercise | Team talks through a scenario step by step without executing anything | Roles, decision-making, and communication gaps |
| Walkthrough test | Each runbook owner reads through their procedure and verifies it is accurate | Runbook completeness and accuracy |
| Technical restore test | IT team performs an actual backup restore in an isolated environment | Backup integrity and RTO feasibility |
| Full failover simulation | Critical systems are failed over to standby or cloud environment under test conditions | End-to-end recovery capability |
Run a tabletop exercise at minimum every six months, and complete at least one technical restore test per Tier 1 system every quarter. Schedule these in advance so they actually happen.
Record results and close gaps
Every test must produce a written record that documents what was tested, what worked, what failed, and what actions are required to fix the gaps. Without this record, you cannot demonstrate improvement over time, and you have no evidence to present to auditors, insurers, or senior leadership.
Testing without documenting the results is the same as not testing at all.
Capture results in a simple log that includes the test date, test type, systems covered, issues identified, remediation owner, and target resolution date. Review this log before each new test to confirm previous gaps have been closed.
Step 8. Maintain the plan and align it to ISO 27001
Writing and testing your plan puts you ahead of most organisations, but a disaster recovery plan that sits untouched for 18 months quickly becomes a liability rather than an asset. Systems change, staff leave, cloud platforms get updated, and new threats emerge. Your plan must reflect the actual environment it is designed to protect, which means building a maintenance routine into your calendar from day one.
Keep the plan current with a review schedule
Your plan needs a formal review at least annually, but several triggers should prompt an immediate update regardless of when the last review took place. Any significant change to your IT infrastructure, a failed test result, a real incident, a key staff change, or a new regulatory requirement should send you back into the document to revise the relevant sections.
A plan updated after an incident captures real lessons. A plan updated only on a schedule misses the most valuable input you will ever have.
Use this checklist to guide each scheduled review:
- Verify that all named roles still reflect current staff and that backup contacts are accurate
- Confirm that your asset inventory and dependency map from Step 2 still match your live environment
- Check that backup configurations and restore procedures are unchanged and tested
- Update RTO and RPO targets if business priorities or system criticality have shifted
- Review and refresh all runbooks where procedures or tool versions have changed
- Log the review date, reviewer name, and a summary of changes made
Align your plan to ISO 27001
ISO 27001 requires organisations to address business continuity and IT recovery as part of a formal information security management system. Specifically, Annex A control A.5.29 covers information security during disruption, and A.8.13 addresses information backup. If your organisation is pursuing ISO 27001 certification, your disaster recovery plan needs to be formally documented, version-controlled, and evidenced through test records to satisfy auditors.
Learning how to create a disaster recovery plan that meets ISO 27001 requirements is not significantly more difficult than building a solid plan without it. The standard rewards the same rigour this guide has walked you through: documented scope, tested procedures, named responsibilities, and a structured review cycle. Align your existing plan to these controls, store it in your document management system, and treat your test logs as audit evidence.
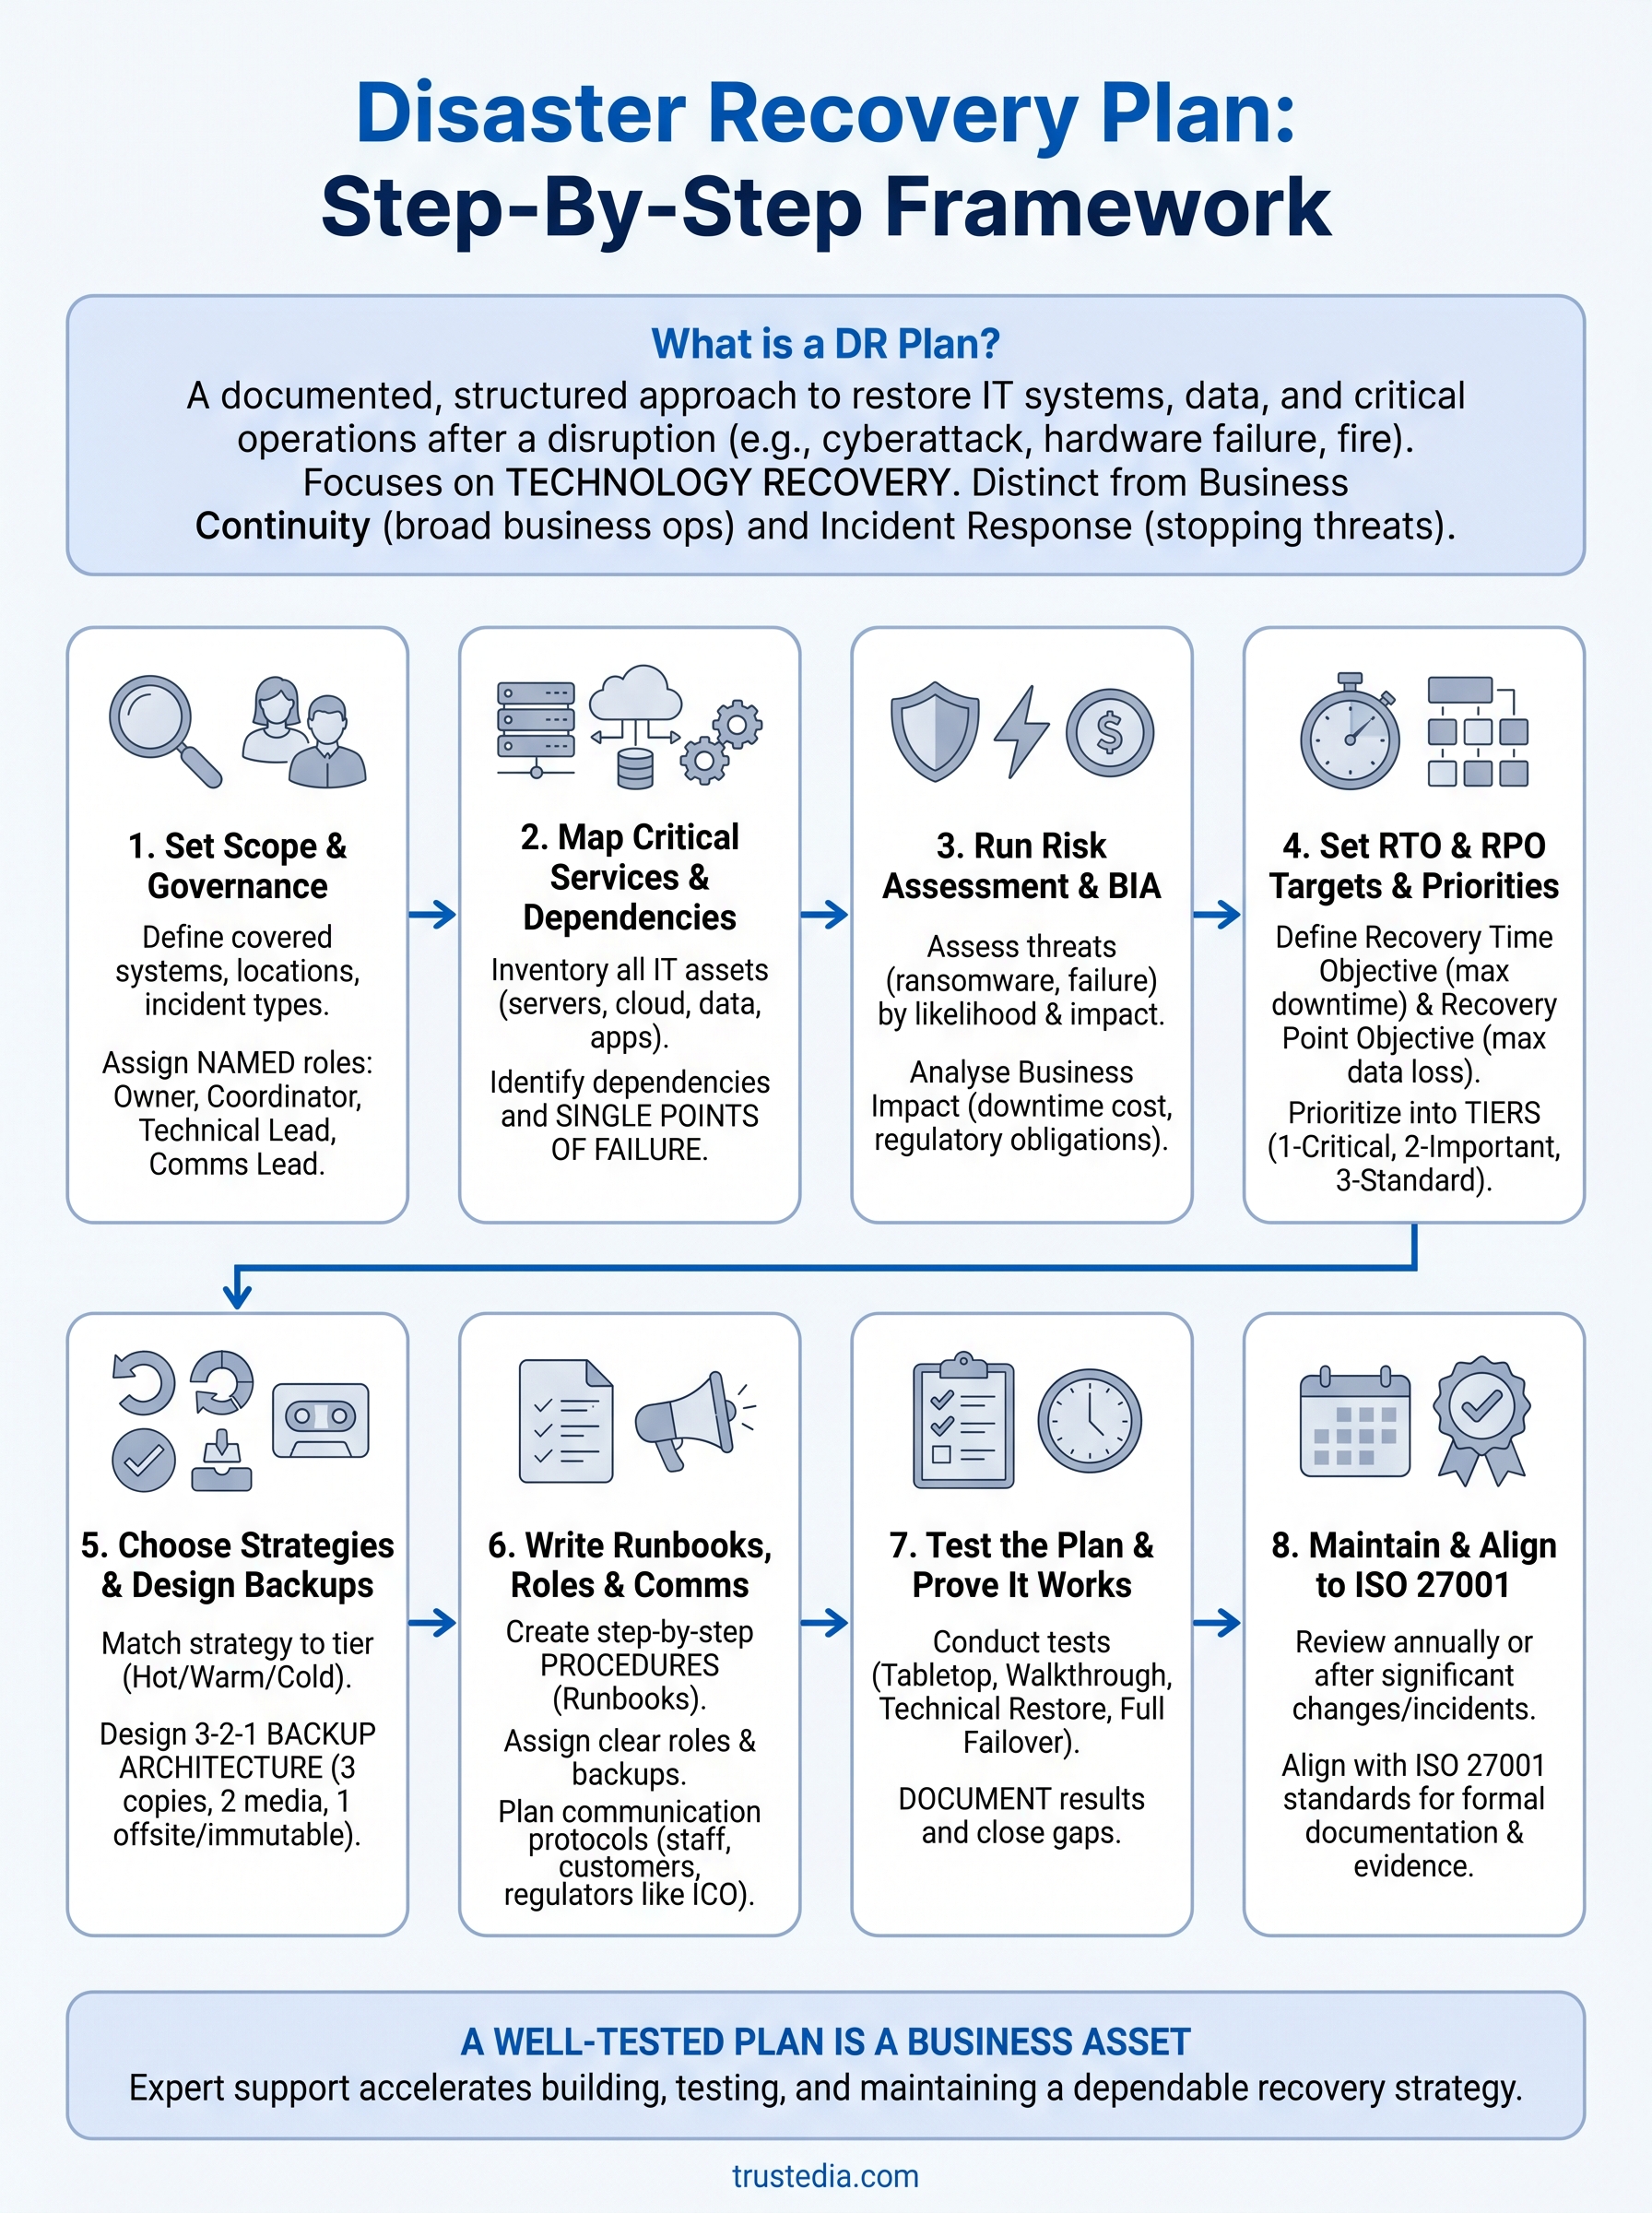
A simple way to wrap this up
Following the eight steps in this guide gives you everything you need to build a disaster recovery plan that actually holds up when your business faces a real incident. You’ve covered scope, governance, asset mapping, risk assessment, RTO and RPO targets, recovery strategies, runbooks, testing, and maintenance. That is a complete framework, not a partial checklist, and each section builds directly on the one before it.
Knowing how to create a disaster recovery plan is one thing; executing it well under pressure is another. Many businesses find that working with experienced specialists accelerates the process significantly and eliminates the gaps that only surface during a live incident. TrustedIA has over 30 years of experience helping UK organisations build, test, and maintain recovery plans that survive contact with real-world conditions, not just planned exercises.
If you want expert support behind your recovery strategy, speak to the TrustedIA team and get a plan your business can genuinely depend on.