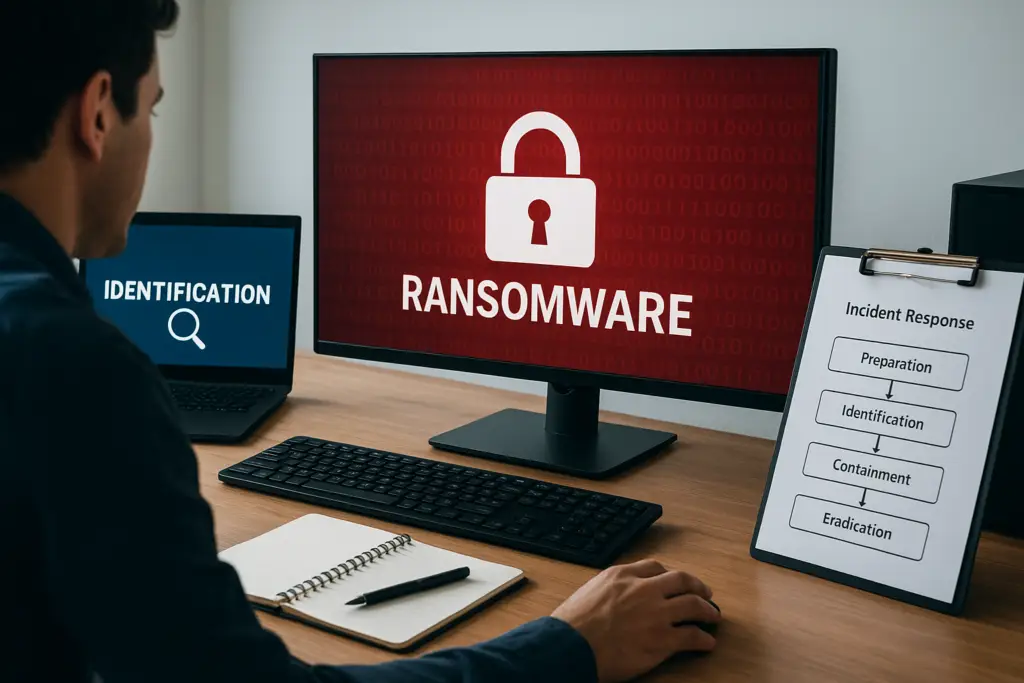
A ransomware notice on screen gives you minutes, not hours, to make decisions that affect your entire business. Panic leads to mistakes: paying too fast, wiping evidence, or restoring backups that are already infected. Knowing the ransomware incident response steps before an attack happens is what separates a two-day recovery from a two-week shutdown.
This guide walks through the full incident response framework, from the preparation work you should already have in place through identification, containment, eradication, recovery, and the post-incident review that stops the same attack succeeding twice. Each phase includes the practical actions your IT team, insurer, or incident response partner will expect you to take, in the order they actually need to happen.
We’ve built this structure around what we see working in real recoveries, not theoretical checklists. Whether you’re drafting a response plan now or you’re mid-attack and need clear direction, the steps below give you a repeatable process you can follow under pressure, backed by the kind of rapid cyber incident response support that gets businesses trading again.
Why a structured response plan matters
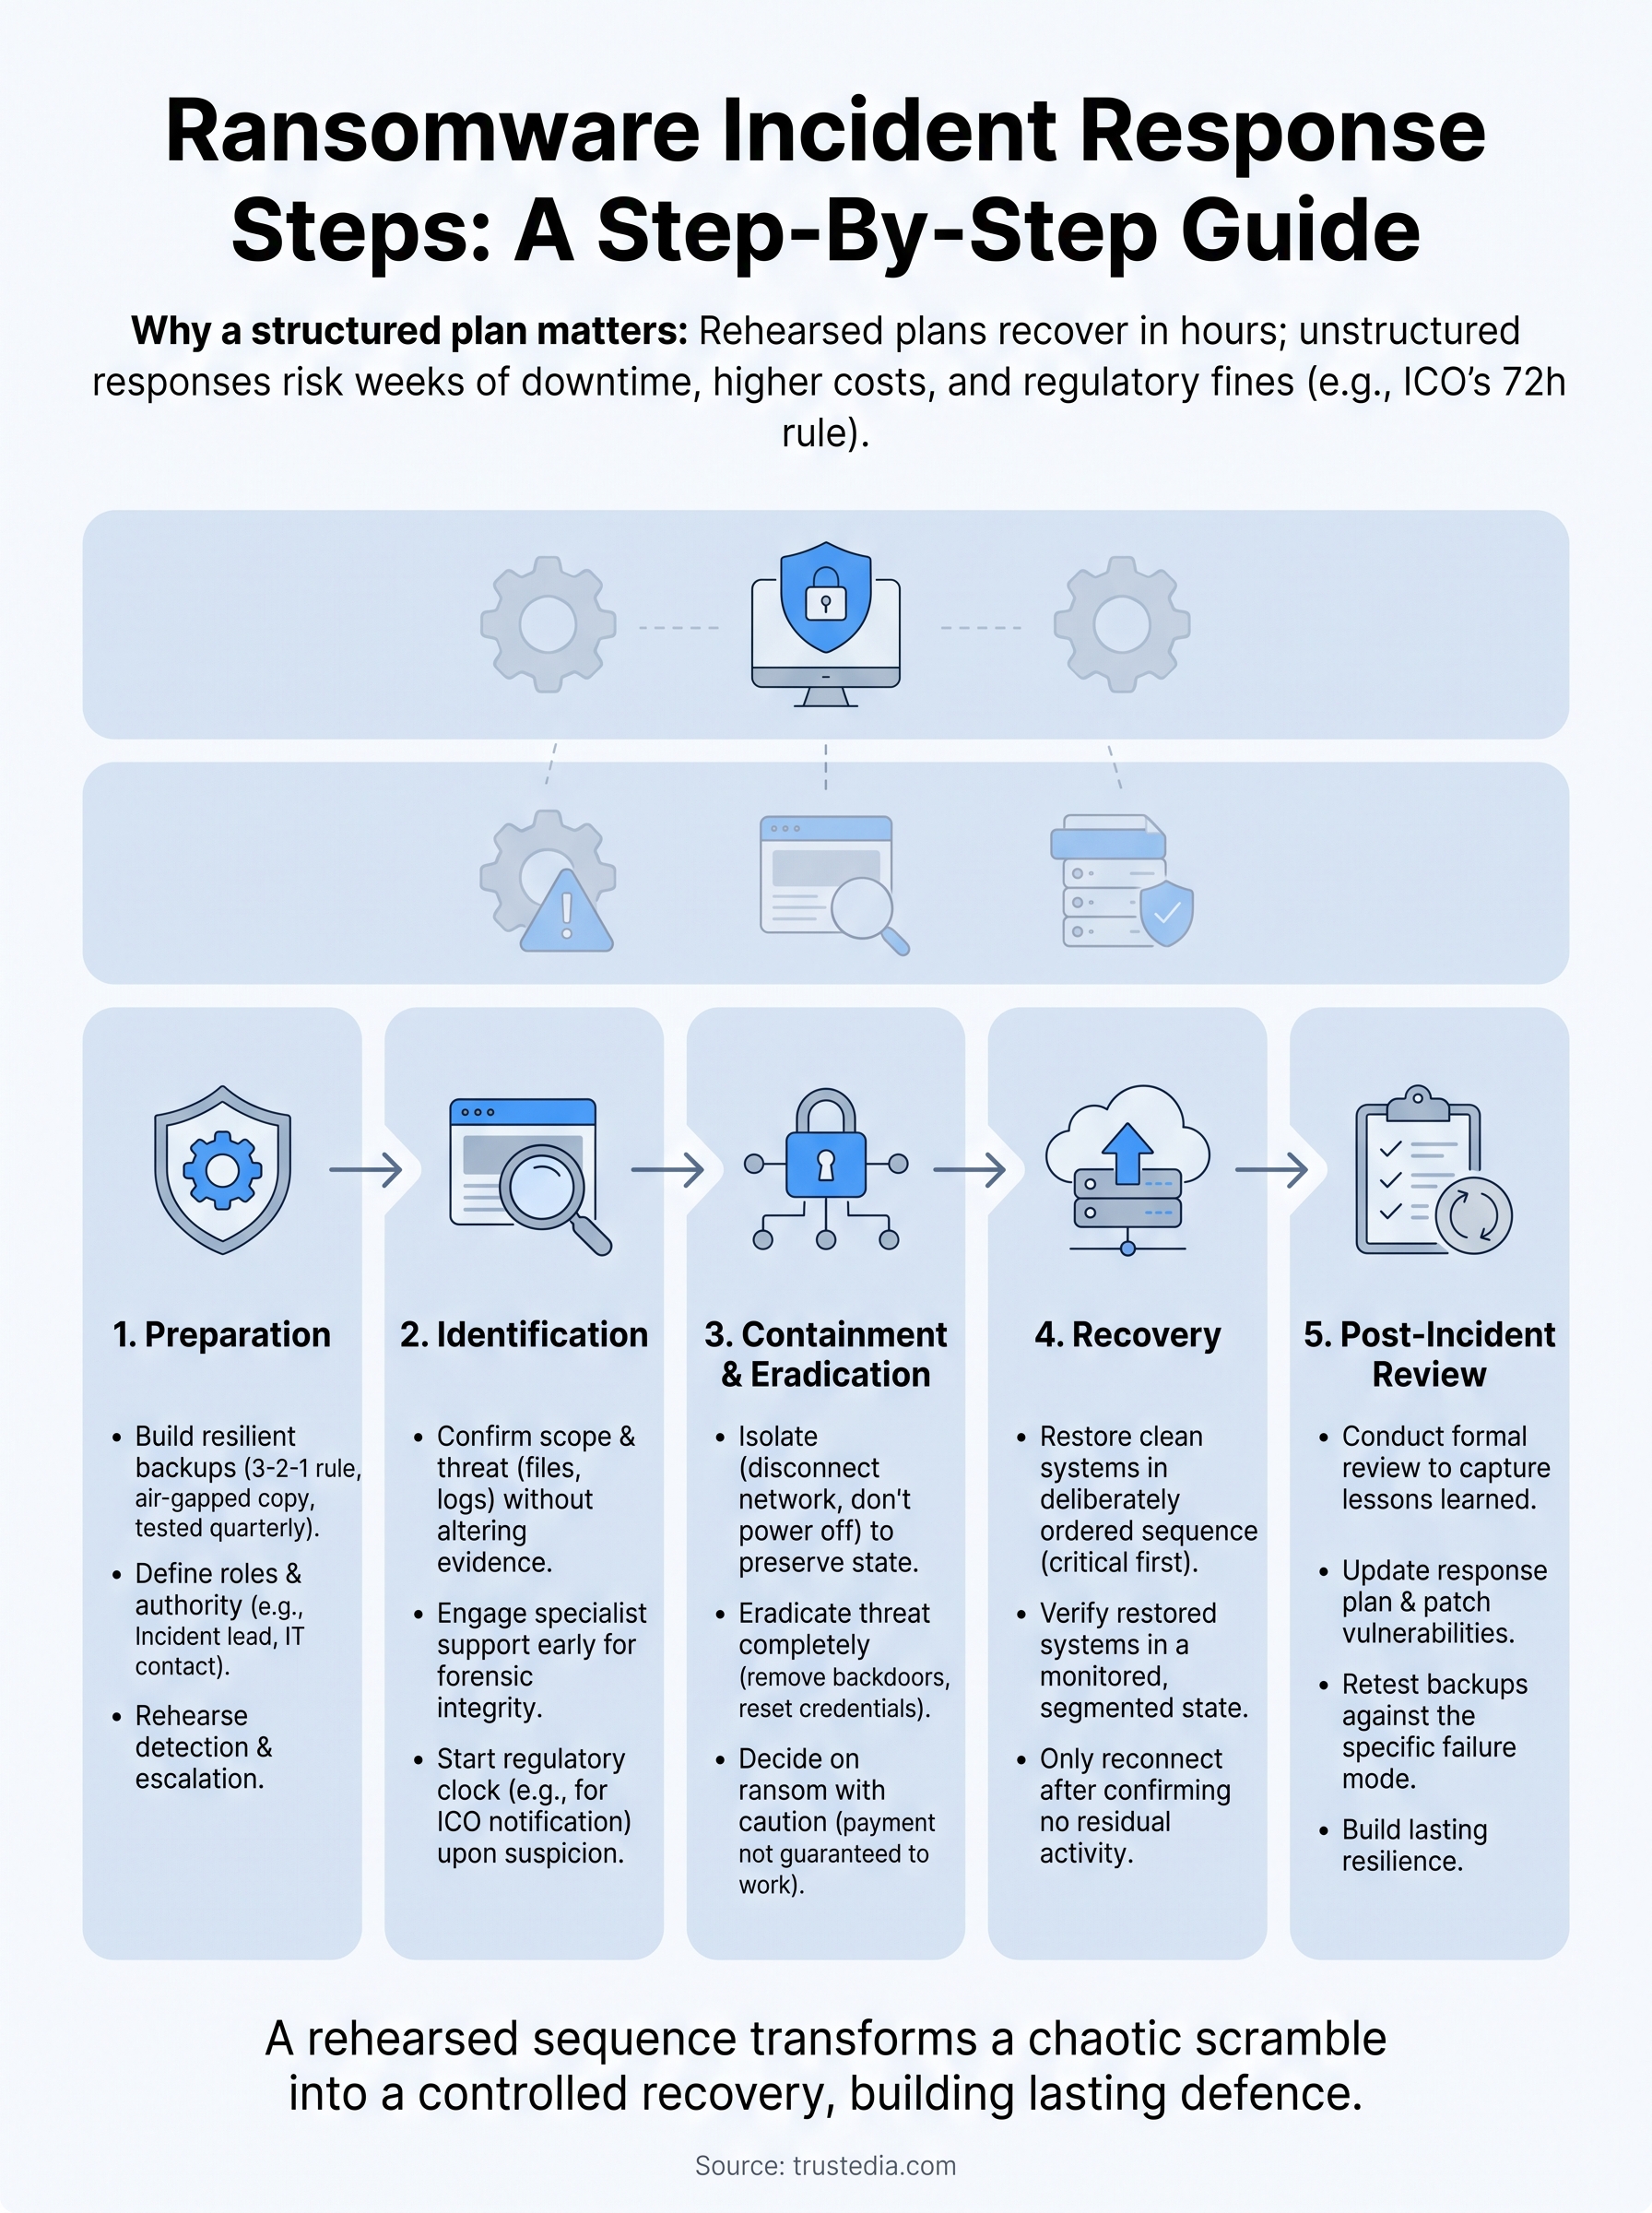
Every minute you spend deciding what to do next during a ransomware attack is a minute the encryption keeps spreading. Businesses that respond to incidents with a rehearsed incident response framework typically contain the damage within hours. Businesses working from memory or a vague sense of "call IT" often lose entire systems, because nobody has decided in advance who isolates which server, who contacts the insurer, or who decides whether to pull the network cable. A structured plan turns a chaotic scramble into a sequence of known actions, and that sequence is what protects your data, your customers, and your ability to trade the next morning.
The real cost of an unstructured response
Government reporting backs this up. The UK’s National Cyber Security Centre notes that organisations without tested incident management arrangements consistently take longer to recover and suffer more severe operational and reputational damage than those with a plan in place. Recovery time matters commercially too: every extra day offline means missed orders, breached contracts, and staff sitting idle while systems stay dark. Downtime costs compound fast, and they rarely stop at the technical repair bill.
A rehearsed response plan is the difference between a controlled recovery and a business standing still while attackers dictate the terms.
Regulatory exposure adds another layer. If personal data is affected, the Information Commissioner’s Office expects notification within 72 hours of becoming aware of a breach where there’s risk to individuals. Meeting that deadline is nearly impossible if your team is still figuring out what happened, which systems were touched, and who’s authorised to make the call. Regulatory deadlines don’t pause for confusion, so the assessment work needs to start the moment you suspect an incident, not after you’ve confirmed it.
The five phases you need to run in order
Skipping steps is the most common mistake we see. Teams jump straight to restoring backups before they’ve contained the infection, then watch the ransomware re-encrypt the restored files within hours. Others pay the ransom before confirming what data was actually exfiltrated, missing the fact that the attacker still holds a copy regardless of payment. Running the phases out of order doesn’t just waste time, it actively makes the incident worse.
The structure that works, and the one this guide follows, breaks down like this:
- Preparation – backups, policies, and roles defined before anything happens.
- Identification – confirming what’s happened and how far it’s spread.
- Containment – stopping the ransomware moving any further.
- Eradication – removing the threat completely, not just the visible symptoms.
- Recovery and review – restoring operations and learning from what went wrong.
Organisations that treat this as a fixed sequence, rather than a menu of options, recover faster and with far less second-guessing. Testing that sequence matters as much as writing it down. A plan that’s only ever existed as a document tends to fall apart the moment real pressure hits, because nobody has practised handing off decisions or communicating under time pressure. Running a tabletop exercise once or twice a year, walking through a simulated attack with the actual people who’d be involved, exposes the gaps a written policy alone never will. Those gaps, whether it’s an outdated contact list or a backup nobody’s tested restoring, are far cheaper to find on a Tuesday afternoon than during a live incident.
Step 1. Prepare before an attack happens
The work that decides whether you recover in hours or weeks happens long before any attacker sends an encryption payload. Preparation means building a response plan that names names, defines who has authority to isolate a server or shut down the network, and stores that plan somewhere it’s still accessible if your main systems go dark. Skip this stage and every later step gets slower, because your team spends the first critical hour figuring out roles instead of executing them.
Build backups that actually survive an attack
Backups only help if the ransomware can’t reach them. Immutable, offline, or air-gapped copies stop attackers encrypting your recovery point along with everything else, which is exactly what happens when backups sit on the same network as production systems. Follow a structure like this:
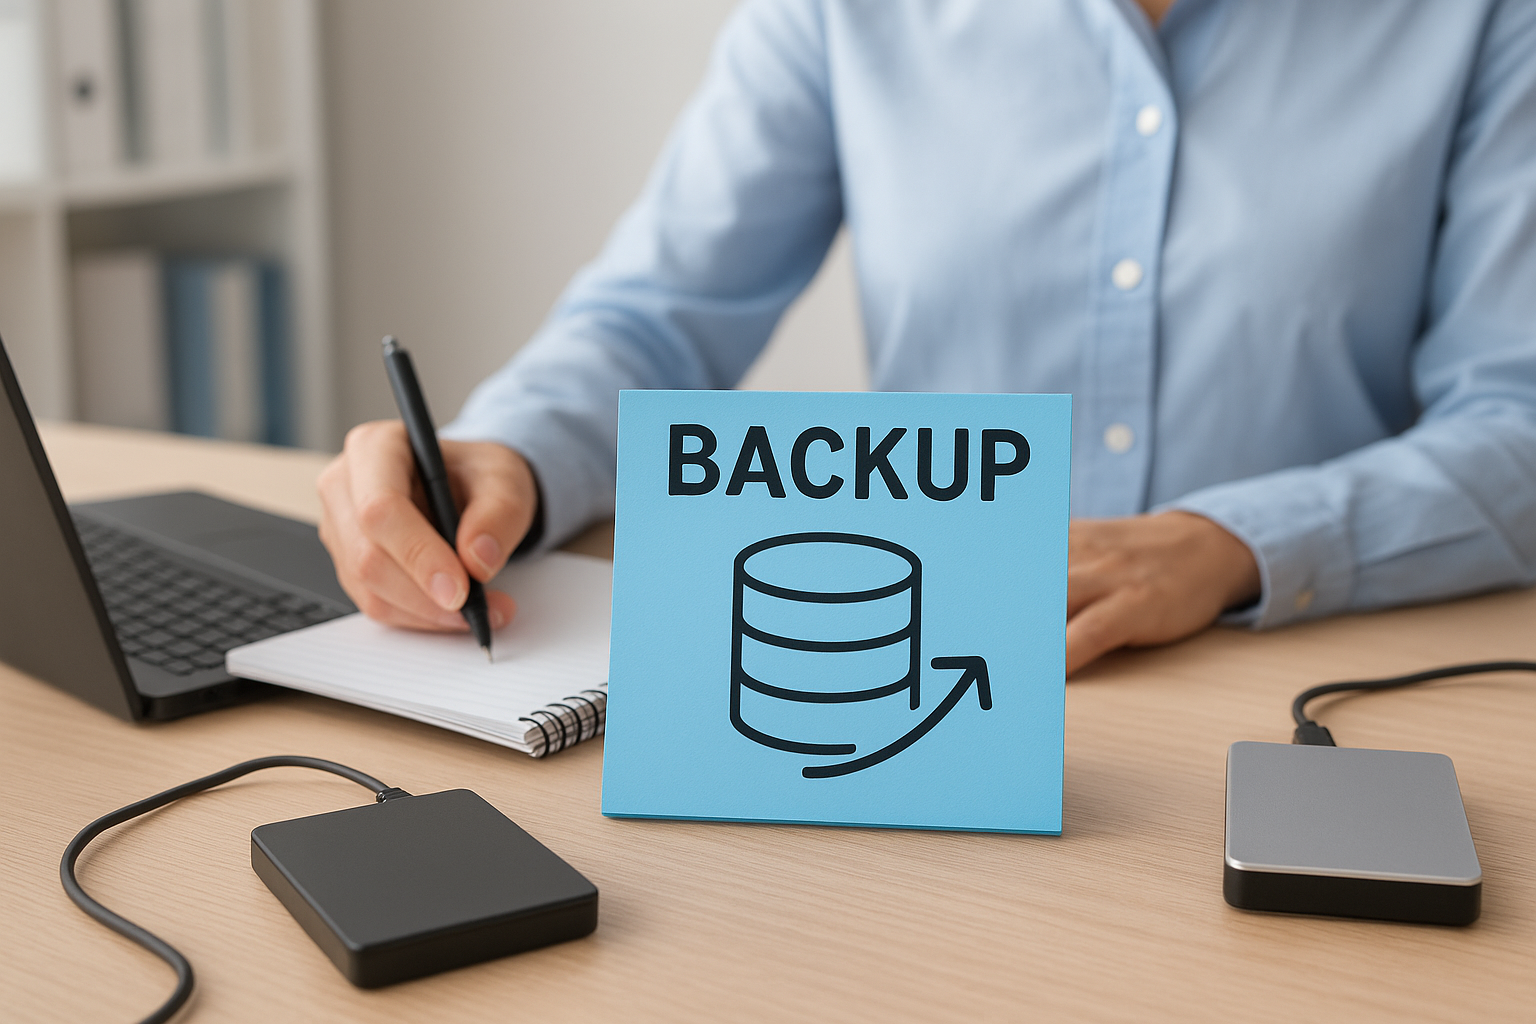
- Keep at least three copies of critical data.
- Store copies on two different media types.
- Keep one copy offline or air-gapped, disconnected from the main network.
- Test restoring from backup at least quarterly, not just checking that the backup job completed.
A backup you’ve never restored isn’t a backup, it’s a hope.
Define roles before you need them
Decisions made under pressure go wrong when nobody’s agreed in advance who makes them. Write down who leads the response, who talks to the insurer, who contacts customers, and who has the authority to take systems offline. A simple roles table removes the guesswork:
| Role | Responsibility |
|---|---|
| Incident lead | Coordinates response, makes containment calls |
| IT/security contact | Isolates systems, preserves evidence |
| Communications lead | Manages staff, customer, and media messaging |
| Legal/compliance contact | Assesses breach notification duties |
| Insurer/IR partner | Provides forensic and recovery support |
Getting this table onto a laminated sheet or a printed folder, not buried in a shared drive you can’t access mid-attack, is a detail that matters more than it sounds.
Rehearse detection and escalation
Detection tooling closes the gap between infection and discovery, and that gap is usually where attackers do most of their damage. Endpoint detection tools, monitored around the clock through a security operations centre, catch lateral movement long before ransomware triggers its encryption routine. Pair that with regular phishing simulation exercises, since most ransomware still arrives through a convincing email rather than a sophisticated exploit. Combine both with a documented escalation path so that whoever spots the first alert knows exactly who to call, at any hour, without hesitating to check whether it’s a false alarm first.
Step 2. Identify and assess the incident
Once something looks wrong, whether that’s files with unfamiliar extensions, a ransom note on a shared drive, or staff reporting they can’t open documents, your job is to confirm the scope fast without touching anything that might destroy evidence. Identification is where you decide how bad this actually is, and that decision shapes every action after it. Rushing to shut everything down before you understand what’s infected can be as damaging as doing nothing, because you lose the chance to see how the attacker moved and what they touched.
Confirm what you’re actually dealing with
Not every encrypted file means a full ransomware event, and not every ransom note is genuine. Start by gathering evidence rather than guessing:
- Check which systems and file shares show encrypted or renamed files.
- Note the ransom note’s wording and any file extension used, since this often identifies the ransomware family.
- Look at login logs for unusual access times or accounts.
- Check whether backup systems have also been touched.
- Record timestamps for everything you find, they matter later for both recovery and reporting.
You can’t contain what you haven’t measured, so assessment always comes before action.
Assess the blast radius before you act
Scope matters more than speed at this stage. A single infected workstation calls for a very different response than a domain controller showing signs of compromise, so resist the urge to isolate the entire network before you know what you’re isolating it from. Vulnerability assessments run as part of your incident response, rather than waiting for a scheduled quarterly check, help identify the entry point quickly, whether that’s an unpatched VPN appliance, a compromised credential, or a phishing link clicked three days earlier. Pinning down the entry point now saves you from reopening the same door during recovery.
Bring in specialist support early
Don’t wait until containment fails to call for help. Engaging a cyber incident response team at the identification stage means forensic evidence gets preserved correctly from the start, rather than after well-meaning IT staff have already rebooted servers or deleted logs trying to fix things themselves. Insurers and loss adjusters expect this kind of early engagement too, since a CyberSOS-style response brought in during identification, not after eradication has already begun, tends to produce cleaner evidence and faster claims processing. This is also the point to start your regulatory clock, because if personal data may be involved, the 72-hour notification window referenced by the ICO starts from when you first became aware, not from when you’ve finished your investigation.
Step 3. Contain and eradicate the ransomware
Once you understand what’s infected, containment becomes the priority: stopping the ransomware moving into systems it hasn’t reached yet. Speed matters here, but so does precision. Pulling the wrong cable or shutting down the wrong server can destroy the evidence your insurer and forensic team need, and it can also tip off an attacker still active on your network that you’ve spotted them. This is the stage where a rehearsed ransomware incident response plan pays for itself, because everyone already knows which systems to isolate and in what order.
Isolate without destroying evidence
Work through isolation methodically rather than switching everything off at once. A sensible order looks like this:

- Disconnect infected devices from the network, not from power, to preserve memory and logs.
- Disable remote access tools and VPN connections attackers may be using to move laterally.
- Segment or isolate unaffected network segments to stop spread before it starts.
- Suspend compromised user accounts rather than deleting them, so activity logs remain intact.
- Preserve a forensic image of at least one infected device before any cleanup begins.
Contain first, clean second. Eradicating before you’ve stopped the spread just gives the ransomware somewhere new to hide.
Eradicate the threat completely
Eradication means removing every trace of the attacker’s access, not just the encrypted files or the obvious malware executable. Attackers frequently leave backdoors, scheduled tasks, or new admin accounts behind so they can return even after you’ve cleaned the visible infection. Work with your cyber incident response team to identify every point of persistence, patch the vulnerability that let the attacker in, and reset credentials across every account with elevated privileges, not just the ones that show signs of compromise. Skipping this step is why some businesses get hit twice within weeks of the first attack.
Decide on the ransom question with your eyes open
Paying a ransom doesn’t guarantee decryption, and it doesn’t remove the risk that stolen data still gets published or sold. The National Cyber Security Centre advises against paying, since it funds further criminal activity and offers no legal protection. Any decision on payment should sit with your incident lead, legal counsel, and insurer together, weighed against the realistic cost of rebuilding from clean backups instead.
Step 4. Recover systems and review lessons learned
Recovery starts only once eradication is confirmed complete, not before. Restoring systems while a backdoor still sits on the network just hands the attacker a fresh set of encrypted files to hold you to ransom with again. Work with your incident response team to agree a clean bill of health for each system before it goes back online, and treat that sign-off as a hard gate rather than a formality.
Restore systems in a deliberate order
Getting the sequence right matters as much as the restore itself. Bring back critical business systems first, verify each one in isolation, then reconnect it to the wider network only once it’s confirmed clean:
- Restore domain controllers and core authentication systems first.
- Rebuild affected servers from clean images rather than patching infected ones.
- Restore data from the most recent verified-clean backup, not simply the most recent one.
- Bring applications back online one at a time, checking functionality before moving to the next.
- Reconnect user devices last, once network monitoring confirms no residual activity.
Restoring fast matters less than restoring clean. A quick recovery that reintroduces the infection costs you far more time than a careful one.
Verify before you trust anything
Hold each restored system in a monitored, segmented state for several days before declaring it fully operational. Endpoint detection tools should stay on heightened alert during this window, watching specifically for the indicators of compromise your forensic team identified during eradication. Skipping this verification step is how businesses end up reopening the same incident within a fortnight, because a dormant script or scheduled task survived the initial clean-up.
Run a lessons-learned review that changes something
Every incident should end with a formal post-incident review, held while details are still fresh rather than weeks later once memory has softened the sharp edges. Bring together everyone involved, from the incident lead to the IT team to whoever handled communications, and document what worked, what slowed you down, and what needs to change. Update your response plan, patch the entry point permanently, and retest your backups against the specific failure mode you just experienced.
Government guidance from the National Cyber Security Centre recommends treating this review as mandatory, not optional, since organisations that skip it tend to repeat the same mistakes in their next incident. Feeding findings back into your response plan and your staff training closes the loop, turning one bad week into a permanently stronger defence rather than a story you tell without ever fixing what caused it.
Turning response into lasting resilience
Ransomware doesn’t wait for you to be ready, so the five phases in this guide only work if you’ve practised them before you need them. Preparation builds the foundation, identification and containment stop the bleeding, and recovery paired with review turns a bad week into a stronger defence rather than a repeat performance. Businesses that treat this as a rehearsed sequence, not a document nobody’s opened, consistently recover faster and lose less along the way.
Building that resilience alone is hard, especially while running the rest of your business. That’s exactly why organisations bring in specialists who’ve handled the sequence before, tested backups that actually restore, and a CyberSOS team ready the moment something looks wrong. If you’d rather have that support in place before an attack than scramble to find it during one, talk to TrustedIA about building a response plan that holds up under real pressure.